

After you choose what you want to grow (I have some help with those decisions in this article), it is time to think about how you are going to grow it.
There are some affiliate links in this article. Clicking on these links does not cost you any extra money, but helps give us a small boost towards making our homestead dreams come to fruition. While we encourage shopping local we also realize that is not always possible. Please see our full affiliate disclosure here.
What are garden zones and what does that mean for my garden?
Your gardening zone is based on the average annual minimum temperature in your area. While that does make a difference in what you can successfully overwinter in your garden, it is not the most important weather consideration when deciding what to plant and when to plant it.
Your local extension office, the Farmer’s Almanac or even just googling “gardening zone” and your zip code should be able to provide you with this information.
You really need to look at both your last and first frost dates (if you have them). Last frost is the last frost coming out of the winter into spring and your first frost would be in fall going into winter. This will determine what you can grow based on the length of your season. It will also determine when you can put certain plants out into your garden.
Again, a simple google search with “average last frost date” and your zip code will help you determine when you should plant your non-frost hardy crops. Remember that these dates are averages and you should look at the weather forecast when you start getting close to those dates.
Where should my garden be?
Most vegetables require almost a full day of sun. South facing gardens (in the Northern Hemisphere) are going to get the most sun. You want to make sure you put your garden in an area that isn’t shaded by trees, your house, or any out buildings on your property.
Decide where you think the best place will be and put down some markers. This could be lawn flags, or even just spreading out and weighing down the cardboard you might be using as a base. Then spend some time checking throughout the different times of day what the sun and shadows look like in that area.
Some afternoon shade on part of your garden is okay, because you will have some plants that either prefer that afternoon shade or don’t need a full day of sun.
Some backyards just don’t get enough sunlight and I think that front yard vegetable gardens are beautiful and a great encouragement to your neighborhood, but it is a bit more crucial to keep your garden looking nice so that your neighbors will continue to encourage your adventures and not complain about them. In addition to keeping your neighbors happy, if you have to keep an HOA happy, make sure you check in with them before your start spending money on and transforming your yard space.
What type of garden will you have?
In-Ground Garden
If you want to save your pennies for some other homestead goodies and have a nice area of flat space and decent soil you might consider clearing some of your lawn and creating an in-ground garden.
Make sure that you have your soil tested so that you know it is safe to grow in or if you need to add any nutrients. Don’t assume that you need to add something if you haven’t tested your soil. You can grab a soil test kit at your local nursery, small town hardware store, or call your local extension office.
Big box hardware stores likely offer these types of kits as well, but we try really hard to support small local businesses when we can’t do something on our own at home and feel like this is a great way to support your community and others trying to live a homestead life. Plus, your local extension office will probably have a lot of great information for you about growing in your area.
A great way to start an in ground garden is with a “no till” “lasagna” style method. The simplest way to go about this is to lay out cardboard (not glossy) and top it with about 6-10 inches of compost. You can lay your cardboard down in the winter/spring, or you can do it just before planting. It will work either way. The cardboard will eventually break down and most plants (other than deep root carrots) won’t have any problem with that depth of soil.
Raised Garden Beds
If you don’t want to do the work of digging out weeds or grass, a great way to start a small garden is with raised garden beds. If you want to build your own beds, untreated wood is the way to go. Cedar is going to last the longest, but with lumber prices these days that might not be an economical option. Other woods are fine to use, just keep in mind that you might need to replace them sooner rather than later.
Avoid any woods that have been chemically treated. Heat treated wood is a great option. Another consideration that we made was using found wood or objects. It is a bit tougher to make sure you are using something safe to grow edibles in. Railroad ties are a big no-no as they are chemically treated. Old tires can also leach chemicals into your soil. There is also some debate on the safety of cinder blocks, so for now we have decided to steer clear of those as well.
We would love to have a garden made from reclaimed items, but for growing food, it just does not seem like a great idea at this time.
The beauty of starting with a raised bed is that you don’t have to put too much work into your soil quality. A good mix of healthy soil and topping it off with compost will get you on your way your first season fairly quickly.

We have some prefab cedar boxes and some corrugated steel boxes from both Lehman’s and Birdie’s in our garden and I am leaning more heavily to the steel ones these days and when the cedar needs to be replaced they will be replaced with those. We used these boxes last year as the ones we wanted were out of stock while I was planning my garden so we bought what we could get.
Another benefit of the steel raised garden beds is that they make some that are almost 3 feet tall, so if you have a bad back this can really make gardening accessible for you!
As soon as the snow melts (if you have to deal with it) put down a couple of layers of cardboard (just the plain brown stuff, no glossy finishes) and weigh it down. This can be with rocks or cinder blocks or even your empty garden bed. Then when the time comes you will be able to fill it with your mix of soil and compost and you won’t have to worry about weeds or grass.
If your boxes are going on a lawn it’s a good idea to put cardboard down in between your boxes as well and then fill your walking paths with wood chips or gravel, or make sure you leave enough space in between them to mow and edge your lawn.
Skipping a plan for between your grow boxes will result in overgrown grass and weedy headaches later, so don’t forget this step.
Take $10 off orders of $115+ at Lehmans. Use Code SAVE104U. Shop Now!Growing Up
If you don’t have a lot of space, or want to expand your space without increasing your footprint you can start growing up. You can accomplish this by growing up a trellis, up a pole, or by using a garden tower. Green Stalks seem to be the current trend in the gardening world, but if you don’t want to shell out the $160 for them, we had some success growing strawberries in these planters from amazon.
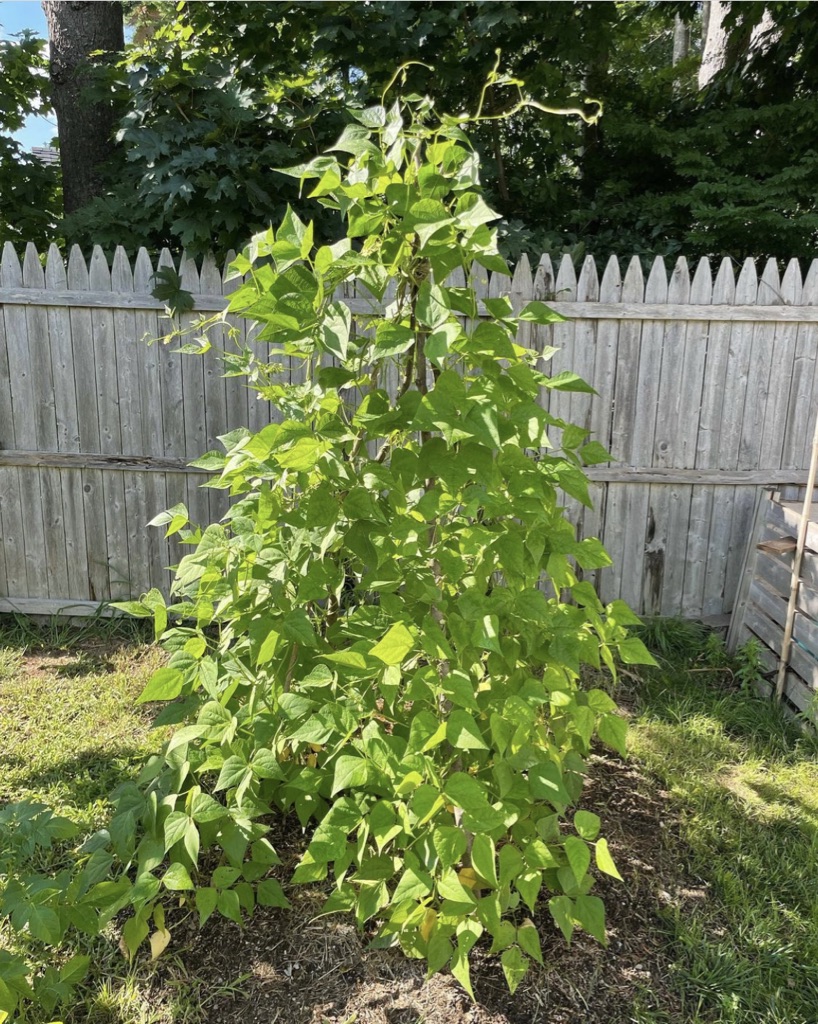

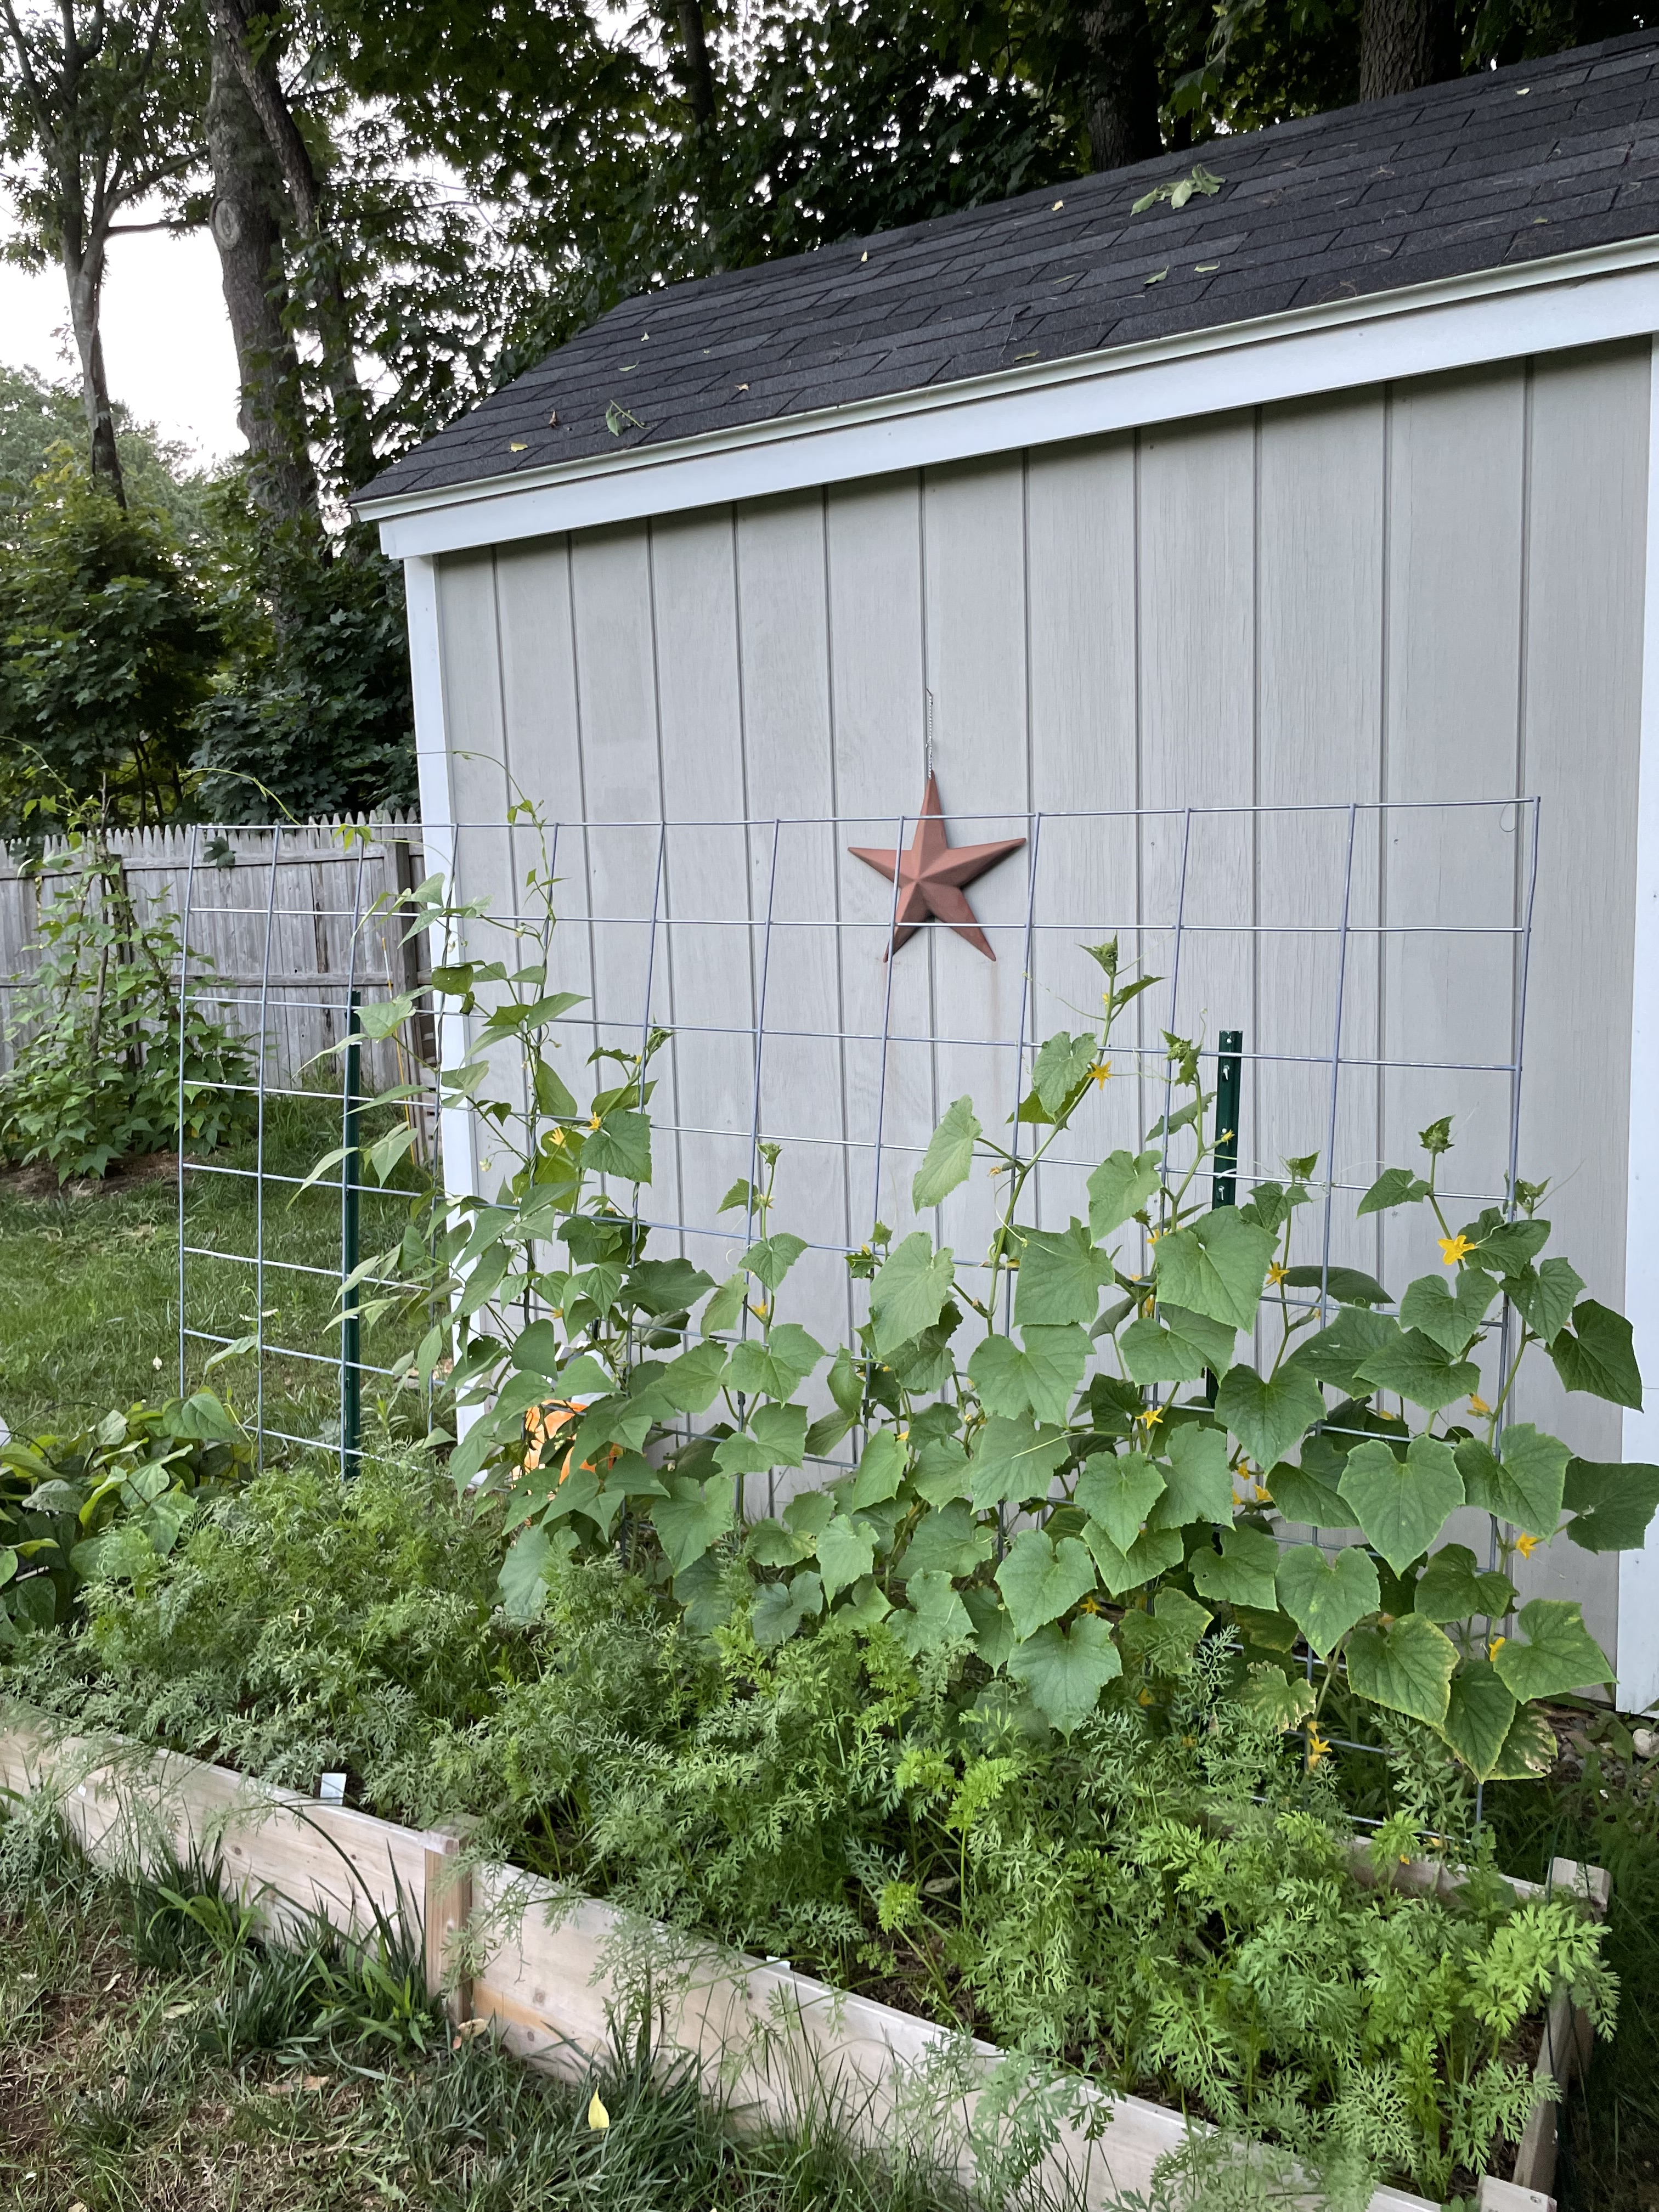
We grow our delicata squash, luffas, cucumbers, green beans, peas, and sugar snap peas up cattle panel trellises. We also have a green bean teepee. This year we will be trying our hand at the Three Sisters gardening method and growing some of our green beans up our corn over a bed of squash.
Plotting Your Garden
Get out some graph paper and a pencil and plot out your garden space. Research how much space the plants you would like to grow need.
You can grow in a more condensed way but will need to change your soil makeup as your plants will need more nutrients since they will be sharing space. If you are planning a smaller and fuller garden you should check out the book Square Foot Gardening by Mel Bartholomew.
Make sure your water source is easily accessible to your garden. Will you run a drip irrigation system in it? Do you need to make sure your hose can reach all of your beds?
Will you need trellises, stakes, or cages? Make sure to have these on hand early in the season so you aren’t scrambling to find supports when many stores will be out of them.
Do you have pests that you need to contend with? This may be something that you don’t find out until you lose some seedlings or precious plants, or even some of your almost ripe food. If you know about any specific pests you will be dealing with ahead of time look for the repellants and have them on hand or in place before your garden starts producing.

We have had good luck with this specific powder in deterring our resident groundhog, who we have affectionately named Mr. Man.
Enjoy Your Garden
Create an area you want to be in, and be out there. Your plants will grow, but they will really thrive if you are out there, picking off bugs and pests, pulling weeds, and making sure they are watered.
Setting up a sitting space in or near your garden will ensure you get to benefit from your garden even when you are not eating the fruits of your labor.
TrueLeafMarket.com – Huge Selection of Organic Seeds
1 thought on “How to set up your garden!”