

Hardening off your seedlings is an an important step in gardening if you have started your plants from seeds indoors. So let’s chat a bit about the hows and the whys.
There are some affiliate links in this article. Clicking on these links does not cost you any extra money, but helps give us a small boost towards making our homestead dreams come to fruition. While we encourage shopping local we also realize that is not always possible. Please see our full affiliate disclosure here.
I never truly appreciated spring living in Southern California. This time of year never really signaled a change in much of anything weather wise. It just meant spring break, maybe a little bit of rain, and a change in the sports being played. Here in Maine it signals so much more.
Living in a climate that actually has four seasons has allowed me to experience spring time as a true “new beginning” and a reawakening of the land after its long winter sleep. Here in Maine, April and May often seem like the toughest months of the year. It can still be bitterly cold, and you can get a random snow storm or hard frost well into May.
When the gloominess of a long cold streak kick in there are the joys of late winter and early spring that help keep me movitived. Those joys involve playing with seed catalogs and packets, placing orders for new varieties and starting those first “tough to germinate” seeds. Here is a bit more about how to select seeds for your garden. It starts those first few buds of hope for a successful garden season.
This year was the first year that we germinated on a heat mat. We have two great south facing windows in our house, and a third picture window that lets in plenty of light, so we don’t use grow lights, although if we grow any more than we did this season, we will have to move into our basement with grow lights.
Make sure to note that not all seeds should be started indoors, some plants do not take to transplanting well.
What seeds should be started indoors?
The first seeds we start every year are our pepper seeds. They typically take the longest to germinate. Seedlings don’t need to stay on the heat mat after they germinate. After the peppers come off of the heat mat we switch to tomatoes and onions.
Cucumbers, zucchinis, and other squashes do not care for their root systems being disturbed (this happens during transplanting), so they are best sown directly in the garden after all danger of frost. Peas and carrots can be directly seeded in the garden as well, but both love cooler weather and can be sown even before the danger of your last frost.
How to start seeds indoors
This year we used Burpee’s seed starting trays with silicone bottoms to start our seeds. I have been very happy with these trays as they allow for bottom watering and it is easy to push the starts out. Plus, an added bonus, we will get to use them again next season!
Use a reliable seed starting mix, or potting mix, and make sure it has a hefty dose of perlite in it. We usually add more. It really helps keep the soil light and fluffy and helps the soil to absorb water more easily and keep the soil from getting too wet. Your seedlings don’t need fertilized right away, so steer clear of any mixes that contain fertilizers as they can burn your seedlings.
Make sure your soil stays moist while you are waiting for the seeds to germinate. Once all of the cells in your tray have germinated you can move your trays off of your heat mats and water only once the soil seems to be drying out. This will help keep your seedlings from damping off.
We typically sow two seeds per cell, if both of the seeds in each cell germinate, I typically let them grow until one or each seeding has its second set of “true leaves.” True leaves are not the first leaves that appear from your seedling, those first leaves are what emerge directly from the seed casing, true leaves are the leaves of your actual plant.
Once you have two strong seedlings per cell it is time to thin them out. This is best done by cutting one of the stems off at the soil level. You can also pull them apart, but this can disturb the root of the seedling that you are keeping as well and could take your prefered seedling a minute to recover from the jostling.
Hot Tip: If any seed casings get stuck to the first set of leaves that emerge and seem like they are having trouble dropping off, wet your fingers with some saliva and gently remove the seed casing. The enzymes in your spit will help get the seed casing off without damaging the plant.
Some mildews and molds can be normal, but if you have removed your starting trays from heat mats and aren’t overwatering mold can be a sign of serious problems, so watch your seedlings every day.
What is “potting up”?
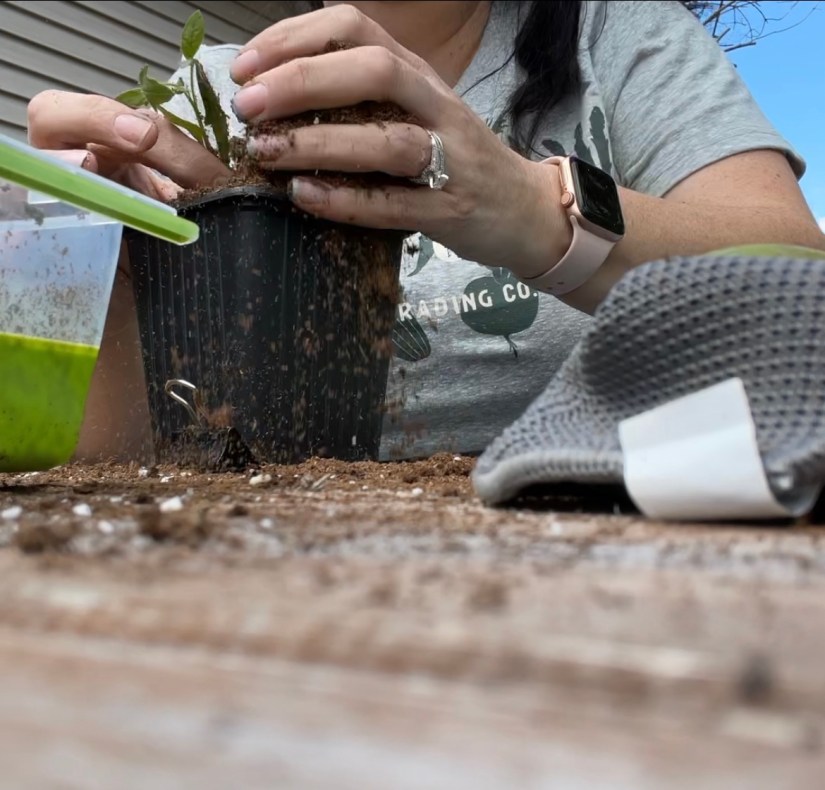
Once your seedlings start bushing out and seeming like they are a bit crowded in their trays it is time to pot them up. This is the simple way to say, “move them into a larger pot.” We typically switch over to cleaned out old yogurt and cottage cheese containers with drainage holes in the bottom.
For your tomatoes, the best way to do this is to pop out the seedling and put it into the bottom of the new container and then bury up to the seedling leaves. Tomato plants will put out roots from whatever parts of their stems are touching soil. All of those little fuzzies on the stem are roots ready to grow. This allows your seedling to establish a nice and healthy root system.
We leave our onions in the seedling trays without potting them up, we move peppers up into larger containers as well, and typically pot them up the same way, though we don’t often get to pot up to those first leaves as the peppers seem to grow tall rather quickly.
Hardening off your seedlings
If you have started your seeds inside you need to harden them off before putting them out into your garden. Hardening off your seedlings acclimates them to the outdoor temperatures and elements.
A great way to start acclimating your seeds to the outdoors is to provide them with a fan while they are growing indoors. This is not a substitution for the hardening off process but is a helpful step in making sure they are growing strong stems and starts the process for them.
Hardening off your seedlings should start about 2 weeks out from your average last frost date. This can be found by googling your zip code and the phrase “average last frost date.”

The best day to start your hardening off process is on an overcast day (not full, hot sun). Bring your seedlings out for only an hour and then move them back inside. Increase their time outside by about an hour each day. This will have them acclimated to a full day of outdoor weather at the end of your two weeks.
You might see some significant growth during these two weeks, this may mean that you need to pot them up again if they are not in a large enough container to continue to establish a good root system and not become too root bound. While you can skip potting them up again during this two week period, just know it may take another day or two for them to figure out their root situation once you plant them in your garden.
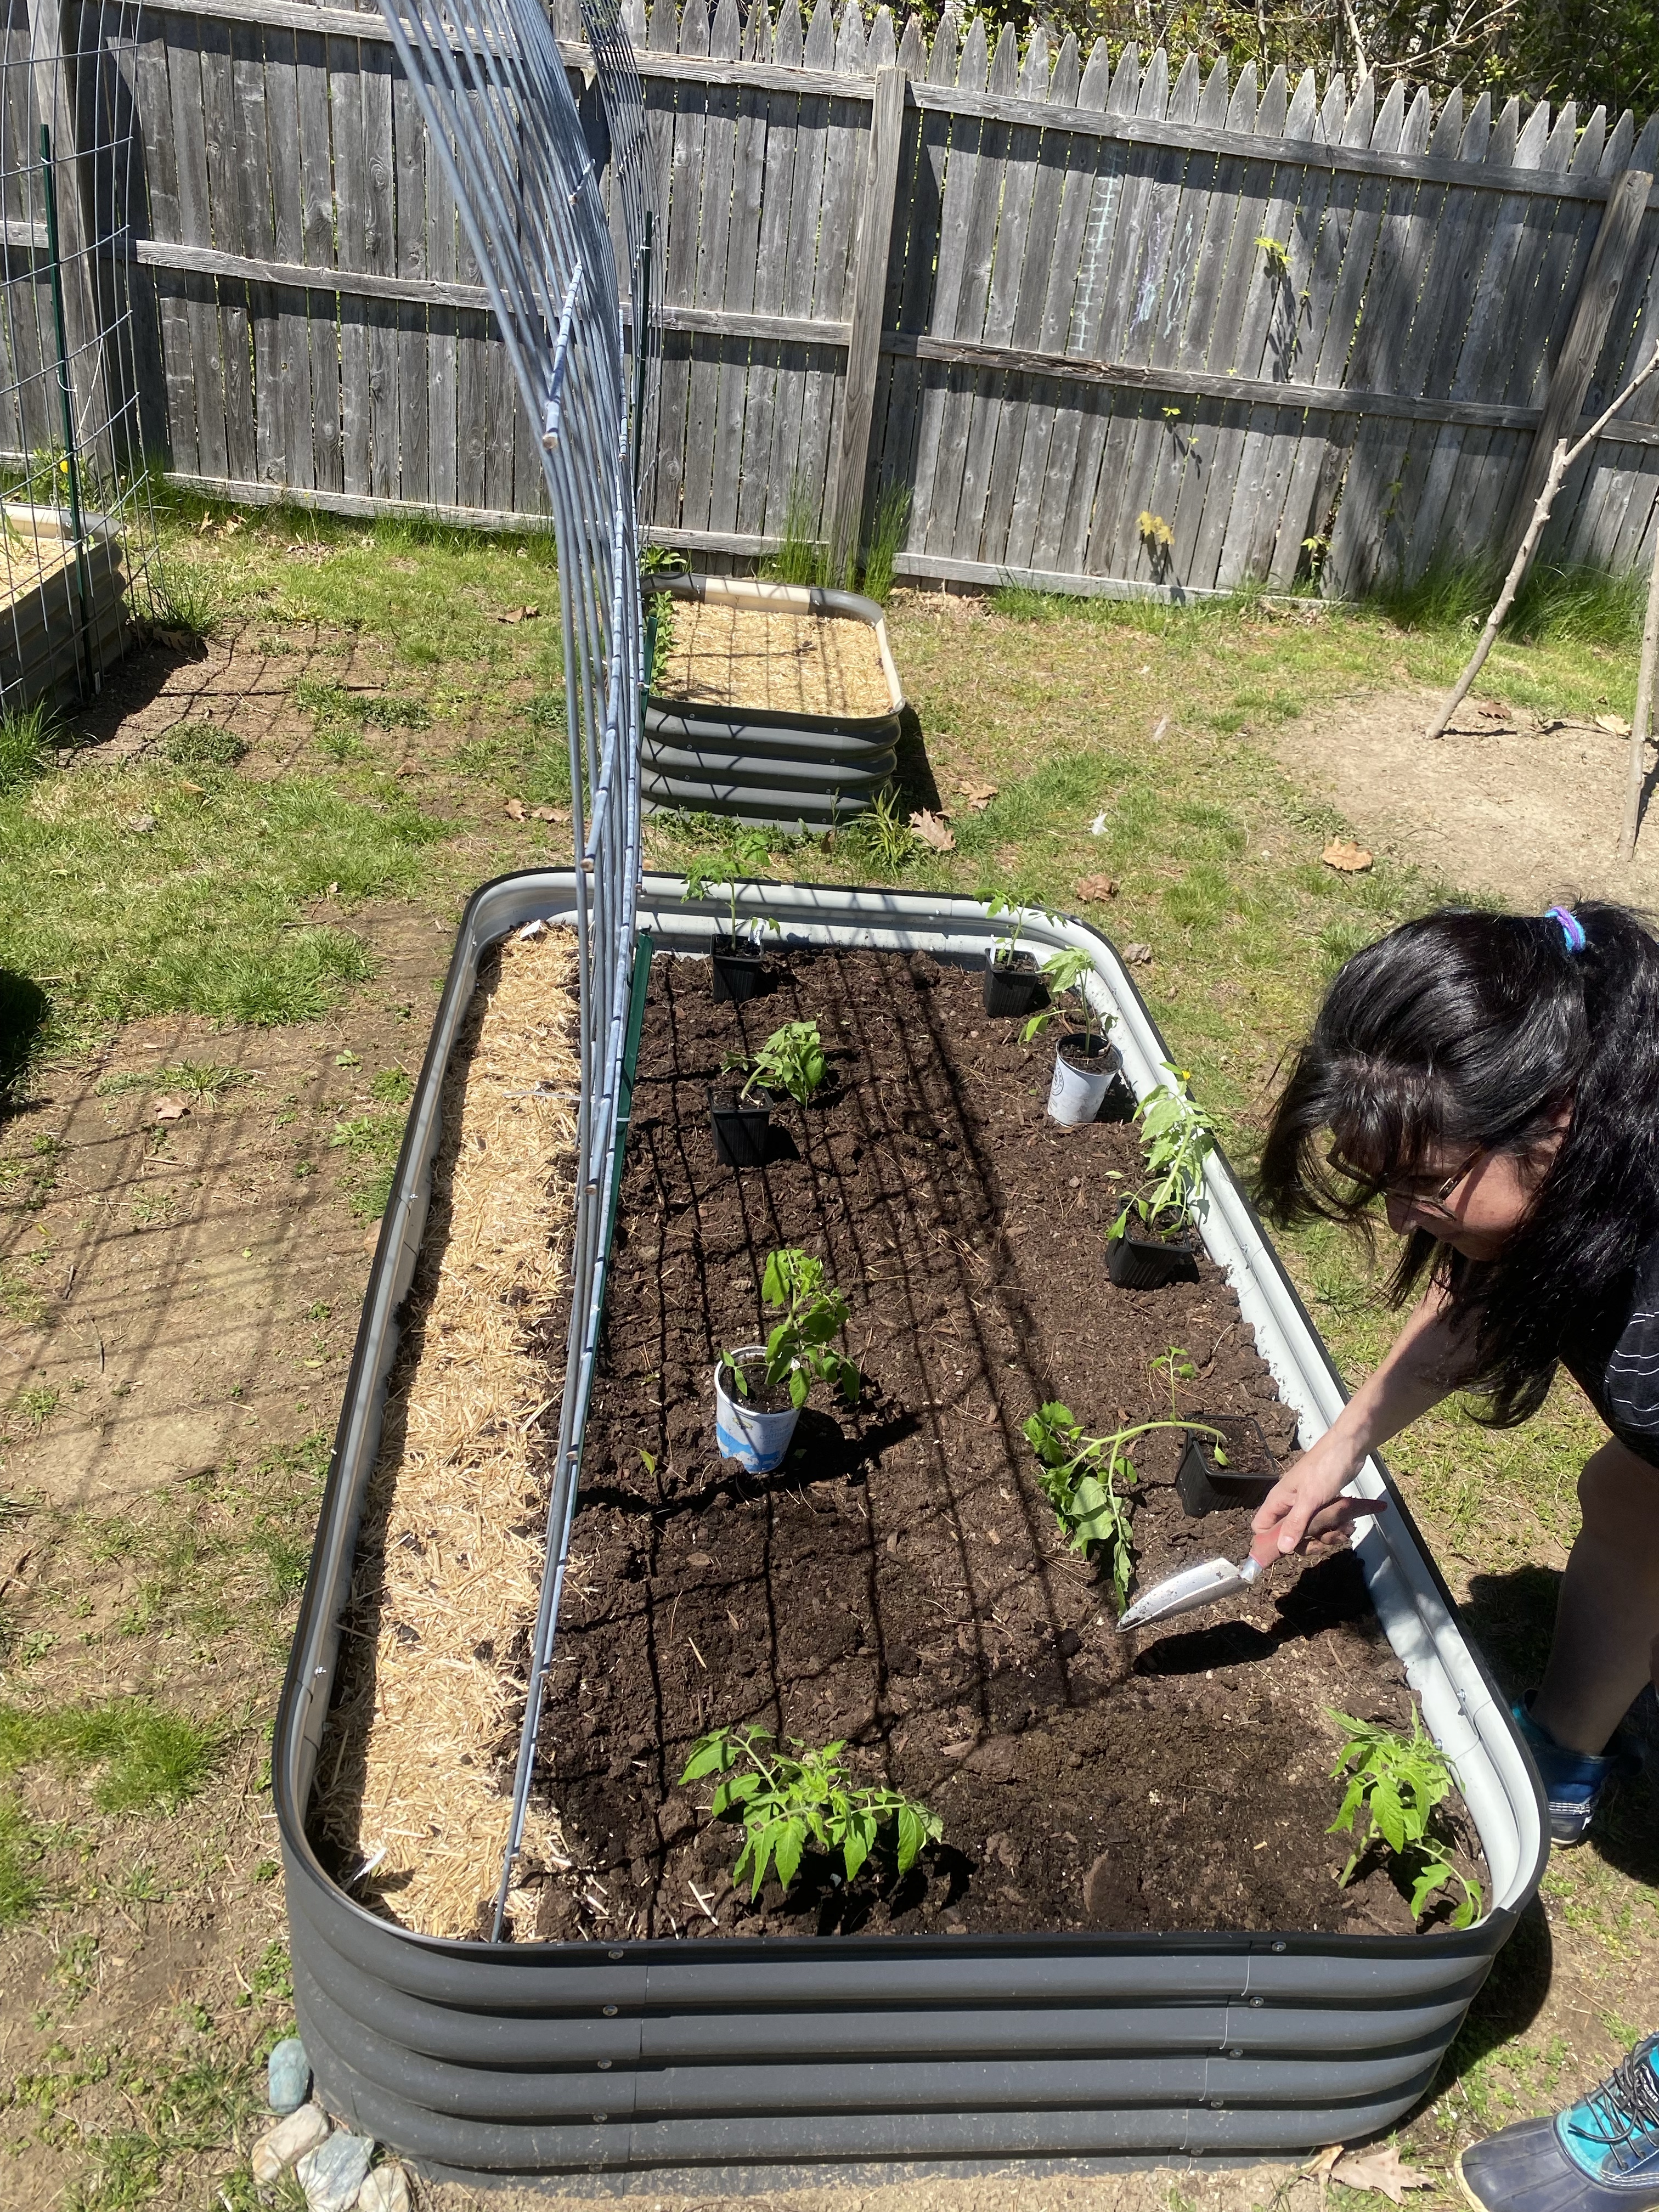
Planting your seedlings
Once your seedlings are hardened off and you are close to your last frost date, start checking the weather! Double check your highs and your lows. Make sure there are no frosts in sight, and that your hot days are not going to be too scorching.
Just like your first hardening off day, the best day to plant is warm but a bit overcast, it’s also a best practice to plant towards the end of the day when the sun is not as strong.
Planting tomatoes is like repotting them, dig a much deeper hole than your pot, and bury some more of that fuzzy stem! You also want to make sure that you don’t have any leaves touching the dirt.
Because of this, I typically pinch off the bottom set of leaves. Then cover your soil with the mulch of your choice. We use this straw from Tractor Supply. Mulch helps keep your soil from drying out too quickly, and with tomatoes it helps prevent disease in your plants from anything splashing up onto the leaves during watering.

Once you get your seedlings in the soil and have mulched them, make sure to water them in fairly heavily. If you are newer to gardening make sure to water at the base of your plants. Watering in the morning is best. Wet leaves during the hottest part of the day can cause the plants to burn. Watering at the base also helps prevent any splashup that can cause tomato blight in your plants.
I hope this was helpful and that you were able to learn something! As a gardener your best teacher will be experience, but it is always helpful to have a plan to follow to start!
