

Garlic wears many hats: my favorite food, a member of the Allium family, a spice, a medicine, a dietary supplement, and has been used for thousands of years in many cultures in both cooking and healing.
Garlic is an ingredient that I rarely follow the amount listed on a recipe. I fully believe that it is an ingredient that you measure with your heart. I have an easy way to make roasted garlic for a spread or to add to a recipe in this article.
Over the last two years it has also become one of my Top 5 favorite foods to grow in our back and front yard gardens. In our front yard, we have our own little micro climate area that seems to stay warmer than the rest of our yard, it is right against our house and south facing, and is the perfect place to plant and grow softneck garlic even in our cold climate in Maine. Our backyard garden beds hold our hardneck varieties. I love that we’ve been able to grow a bit of both and have some expanded growing space for it.
Garlic is divine. Few food items can taste so many distinct ways, handled correctly. Misuse of garlic is a crime. Old garlic, burnt garlic, garlic cut too long ago and garlic that has been tragically smashed through one of those abominations, the garlic press, are all disgusting. Please treat your garlic with respect. Sliver it for pasta, like you saw in Goodfellas; don’t burn it. Smash it, with the flat of your knife blade if you like, but don’t put it through a press. I don’t know what that junk is that squeezes out the end of those things, but it ain’t garlic. And try roasting garlic. It gets mellower and sweeter if you roast it whole, still on the clove, to be squeezed out later when it’s soft and brown. Nothing will permeate your food more irrevocably and irreparably than burnt or rancid garlic. Avoid at all costs that vile spew you see rotting in oil in screw-top jars. Too lazy to peel fresh? You don’t deserve to eat garlic.”
― Anthony Bourdain

When to plant garlic
We plant garlic here every year in either the end of October or the beginning of November. The most important thing is getting the garlic into the ground 4-6 weeks before it freezes. Garlic is probably one of the most forgiving things to plant. It is kind of a set it and forget it type of plant. Plant in the fall, harvest in the summer, and during the winter and early spring there isn’t much to do with it other than make sure it is covered with mulch.
Now, your garlic should really be in the ground all winter, but what if you forget? My first year growing garlic here I knew I had missed the correct window for planting, but the ground near our house had thawed and I decided to put some cloves in the ground (to see what would happen) in mid March. I planted soft neck garlic from a big box store. The cloves that I planted did grow, and although a couple of them formed bulbs with multiple cloves, the majority just grew into a bigger single bulb of garlic. They kind of looked like tiny onions. They had a great flavor and probably could have just been stored as seed garlic for the next season and produced march larger bulbs, that would have split the next time they were planted.
Since we were just planting on a small scale, this was a great experiment. You don’t always have to do everything “by the book.” If if doesn’t work, and you can afford the loss, it might be worth a shot. We definitely still got usable garlic out of our experiment, so we didn’t have to chalk it up to a loss, but if we had it would not have hurt us that year.
Hardneck Garlic vs Softneck Garlic
There are two different types of garlic, they differentiate by they temperature hardiness, the way that they form cloves, whether they flower or not, the way they are stored, and the length of time they can be stored.
Hardneck Garlic:
- Does not store as well or as long (4-6 months). If you have dreams of braided garlic in your kitchen, hardneck is going to take a little bit more of an inventive way to get there, because, as the name suggests, the neck/stem is hard, and does not lend to being braided as easily, but it is doable.
- Hardneck are much hardier and do well in colder climates like here in Maine.
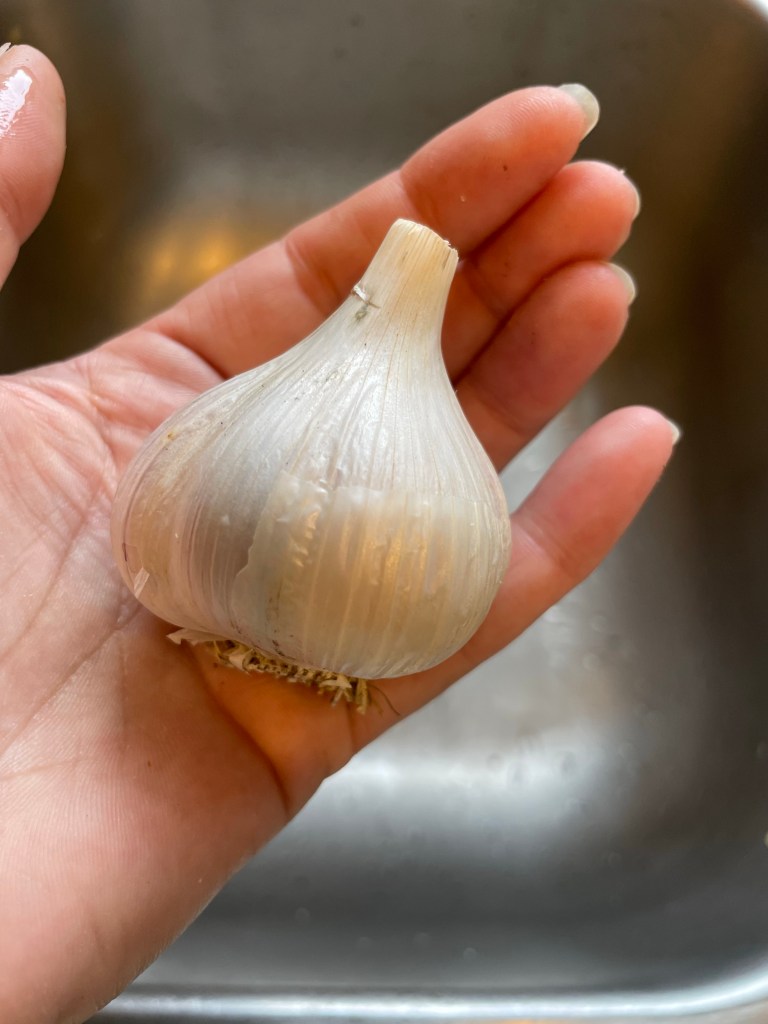
- Larger cloves and peels easier. Hardneck garlic form The skin around each clove is much thicker and easier to pull off in addition to the fact that you are not dealing with a lot of tiny cloves it makes it much easier.
- Develop a long flowering stem. This is called a scape. It will develop a flower and tiny bulbs which can be planted, but to encourage a larger bulb the scapes should be cut before they straighten out and flower. The energy that it takes the plan to straiten the scape, flower, and produce the other bulbs, can be better redirected into giving you big giant cloves of garlic. In addition to helping to make your bulbs larger, the scapes are flavorful and can be eaten. Making garlic scape pesto is a common use, I also like to slice them thinly and use where I would use green onions or chives (sprinkling them on a salad or pasta).

Softneck Garlic:
- Stores very well (9-12 months). Softneck garlic most often are the types of garlic that you see in beautiful braids hanging in kitchens.
- Likes a little bit of a warmer environment
- Produces a greater number of cloves and a lot more lighter layers of skin, which can sometimes make peeling more time consuming.
- Does not develop a flowering stem and their stocks stay soft, which is why they are such easier to braid for storage once cured.
Planting Garlic
The garlic we plant in our garden is a mixture of our own garlic from the previous year and a variety pack of hardback from Fedco Seeds. Fedco Seeds is a Maine company and I choose to order from them because the garlic that they offer is ideal for our type of growing environment. When selecting garlic try to find a local grower or seed company that is geared towards your area and zone.
This year we aren’t planting any soft neck garlic as our little microclimate spot that I mentioned earlier has been planted for two years in a row and we are taking the time to amend that soil and make sure that it is an ideal growing environment for our softneck garlic next fall. Last year (year two in that plot) the garlic that we grew there last year struggled nutrient wise and produced some great garlic, but also some interesting results.

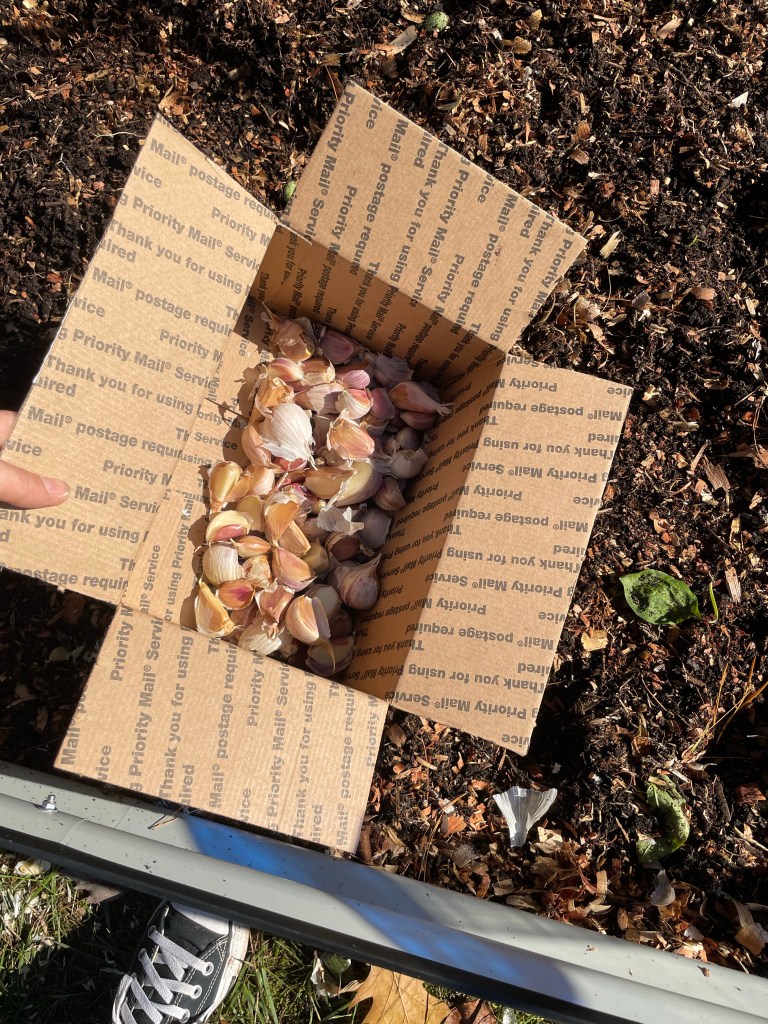
When you plant garlic you get a new bulb from each clove you plant, so your first step in planting is separating all of the cloves from your seed garlic (leave the papery part on each clove if you can). The larger the clove, the larger your new bulb will be, so especially when planting soft neck, use your larger cloves. We choose our largest hard neck bulbs to use as our seed garlic going into the next year, and leave the smaller heads to use in the kitchen.
Garlic should be planted three inches deep with the flat part of the clove facing down and the pointed part up. The suggested spacing is usually 6 inches, but we have started planting closer together without an issue.

Once you have the cloves in the soil it is time to mulch. Last year we used pine needles on both of our beds (soft and hardneck), and this year we are using leaves. Your layer of mulch should be anywhere from 2-6 inches, to protect your cloves from animals before the ground freezes and then to preserve moisture and help with weed pressure once the ground starts thawing. We go a bit heavier with leaf mulch due to the amount of wind we have here. When we did pine needles it stayed in place very well and we only used about 3-4 inches.


In the spring you can gently uncover your rows, but again, this step isn’t totally necessary as the garlic should push through on its own. If you are getting impatient you can always push some of your mulch to the side and see if you are getting some sprouts. Keeping the mulch on between your rows (at the very least) once they start sprouting will again help with the moisture and weed pressure.
Harvesting, Curing, and Storing Garlic
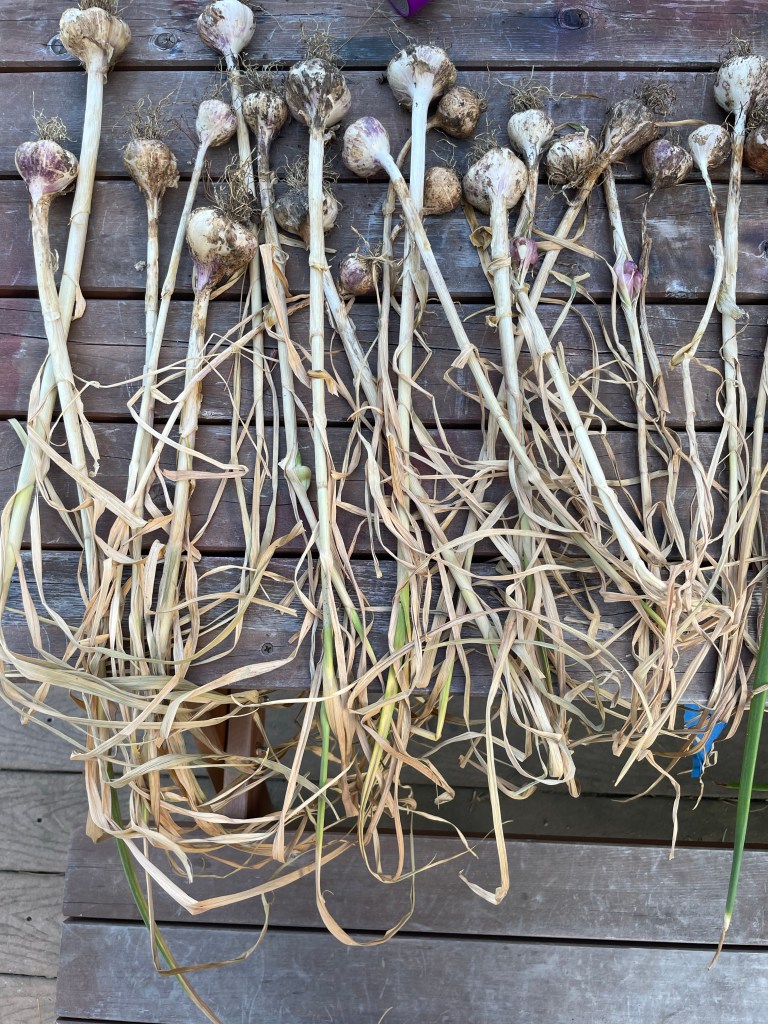
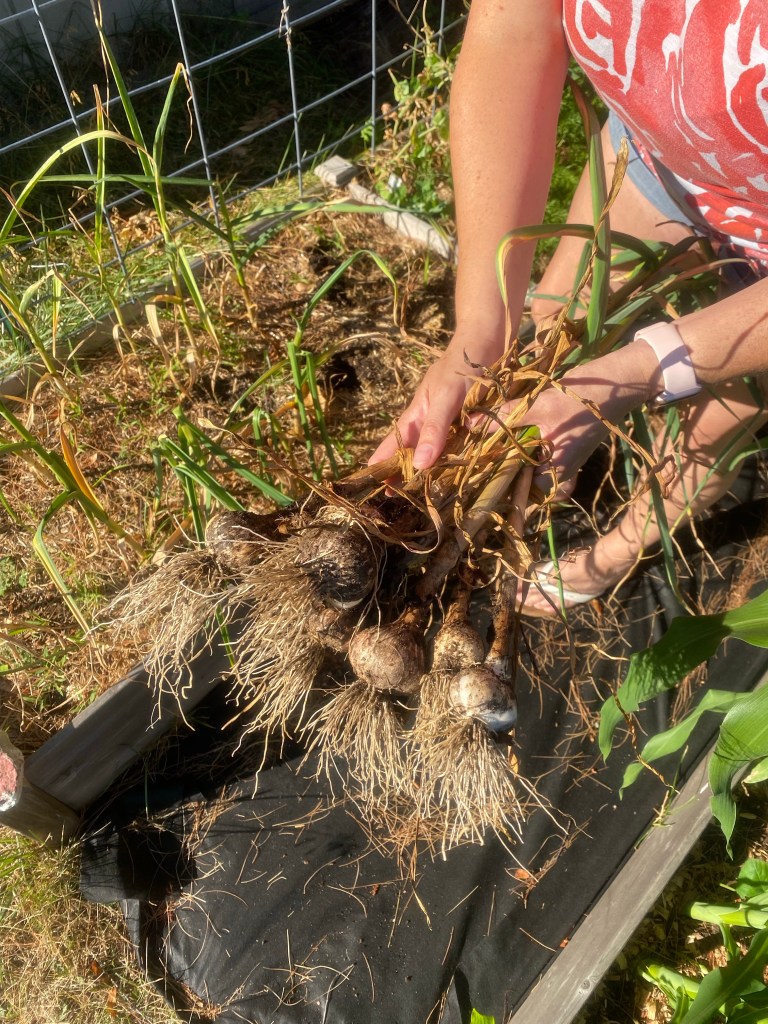
When we talk about harvesting garlic its all about clues and observations. We talked about how hardneck garlic produces scapes, those should be cut before they uncurl. Once you get past that part of your harvest it is time to start watching your garlic’s leaves. Once about half of your plant appears brown and dry it is time to harvest them.
Once you pull them out of the ground, shake/brush as much soil off as you can (do not wash them off), and then, ideally, store them upside down out of direct sunlight in a cool, dry, and well ventilated place. We actually dry ours on old milk crates on their sides and I rotate them as we have not created a curing rack system for them yet.

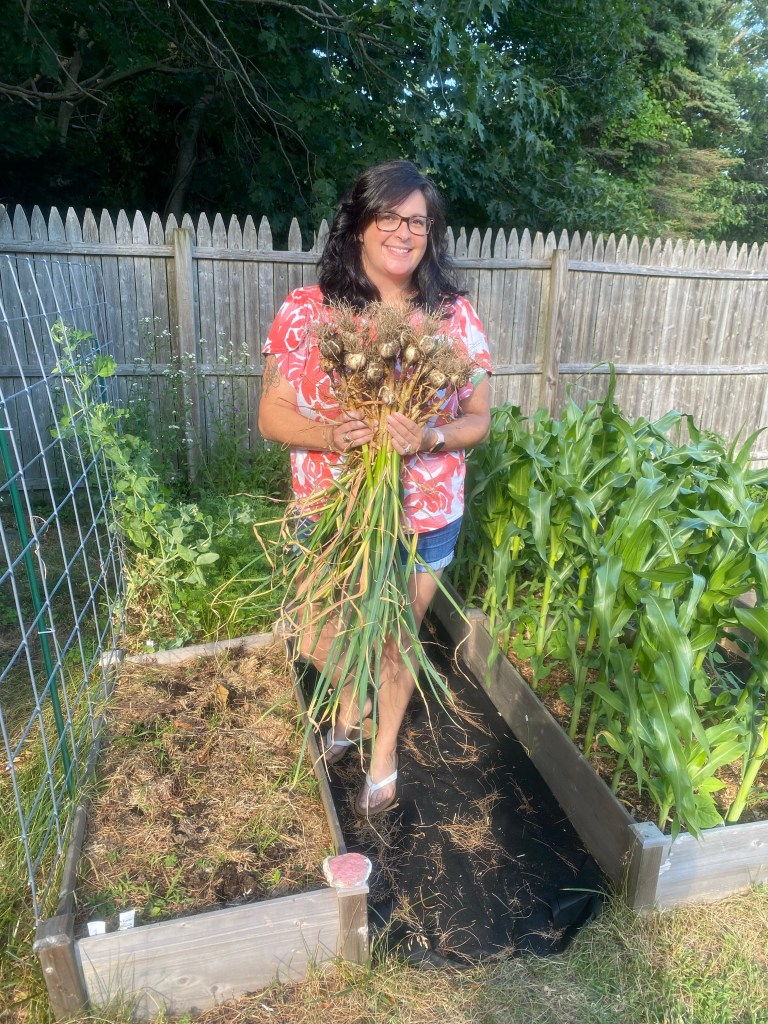
Curing takes about 10-14 days, once your garlic is dry and papery it is ready for storage. It is definitely easier and less messy to take care of all of your garlic at this stage. Brush off any remaining dirt, and trim the root ends. After that, you can braid your soft neck garlic and trim the stocks off of your hard necks. Then, admire what you grew and start planning some delicious recipes.
I can’t wait to share more of our love of garlic with you!
What is your favorite way to use garlic?
