For just about $30 and some tools you probably already have at home, you can make yourself a sweet little pressurized portable shower in less than an hour.
We use our sprayer at the beach, while we are camping, and in places of our garden that are a pain to reach with a regular hose.
We spend the summer cleaning sand out of our car. So when my husband said he wanted to make a “shower” from a garden sprayer I told him to go for it! If we make it to the car with our feet or legs still covered in sand, a nice pressurized spray keeps us from taking too much of the beach home with us.
This article contains affiliate links and our personal homesteading experiences. We receive a small commission from items purchased through our links and we appreciate every bit of support in making our home a homestead.
Before I go into how we did this. I will say, you can just buy a premade one, like the one here. Premade they will run you $45-$75. I assume it works the same as our does, and obviously requires the minimal effort of just pushing a couple of buttons to order and have it delivered to your home. But, if you would like to make your own here was his process.
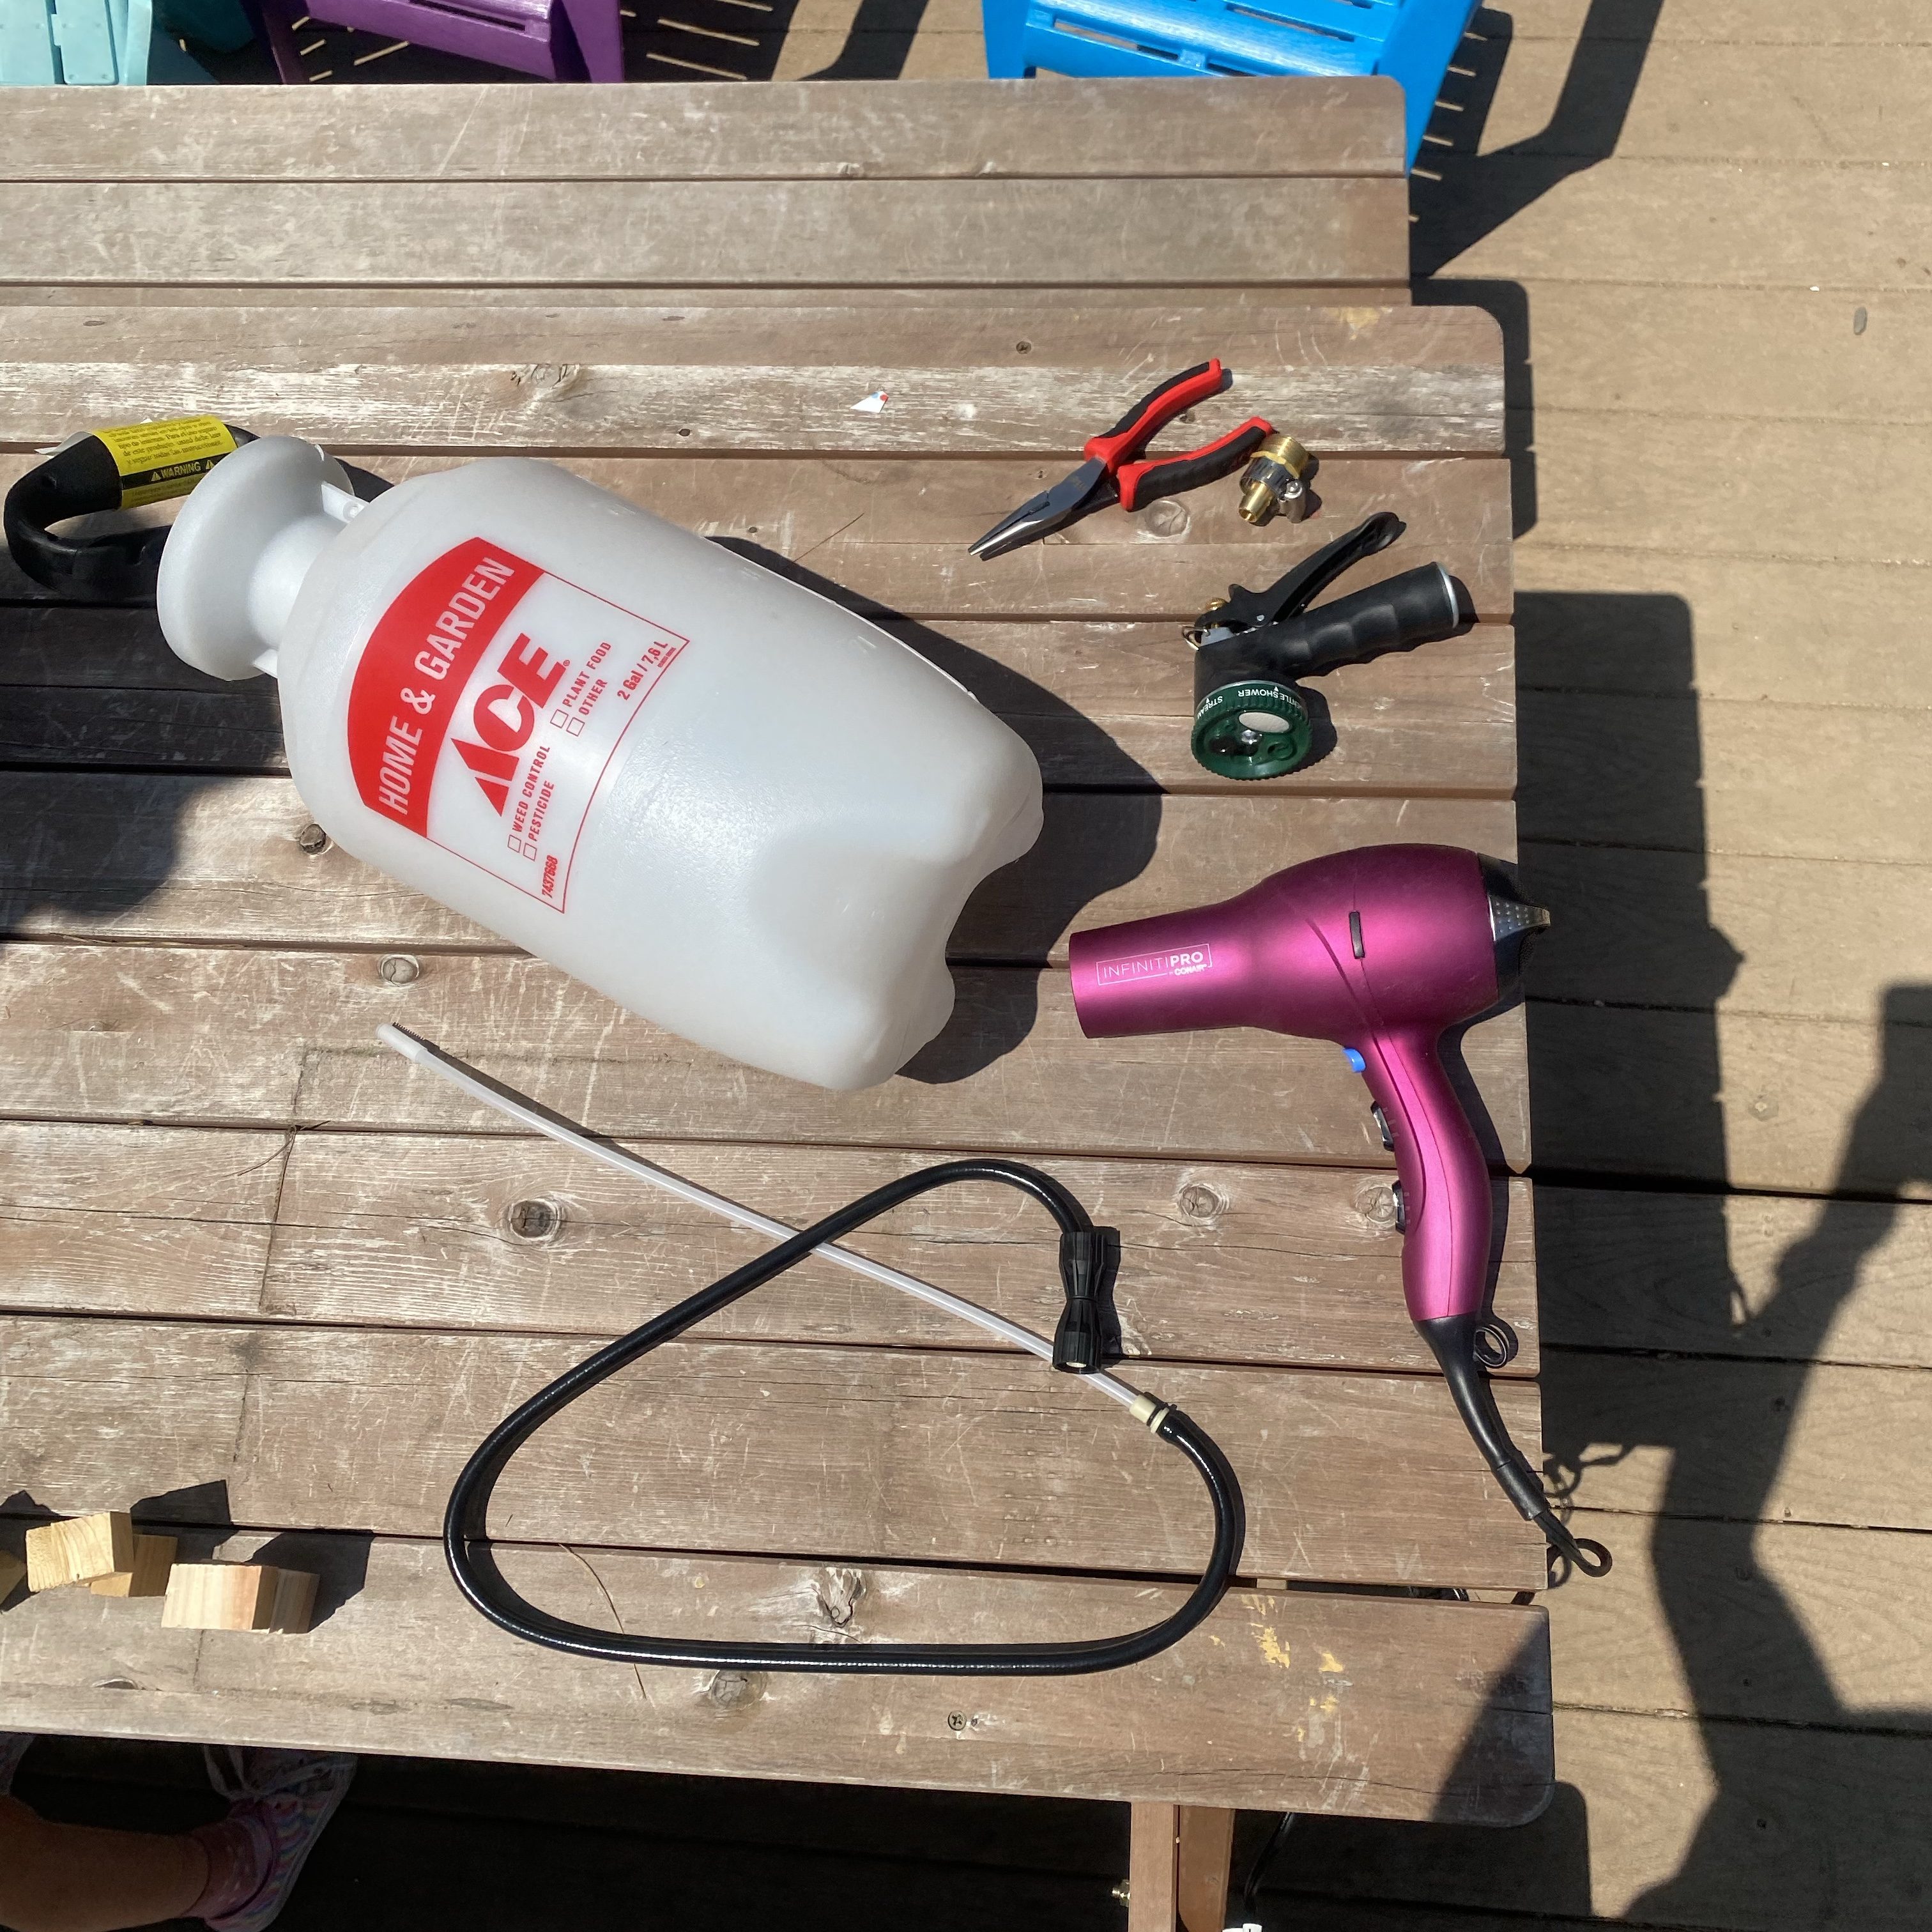
What you need:
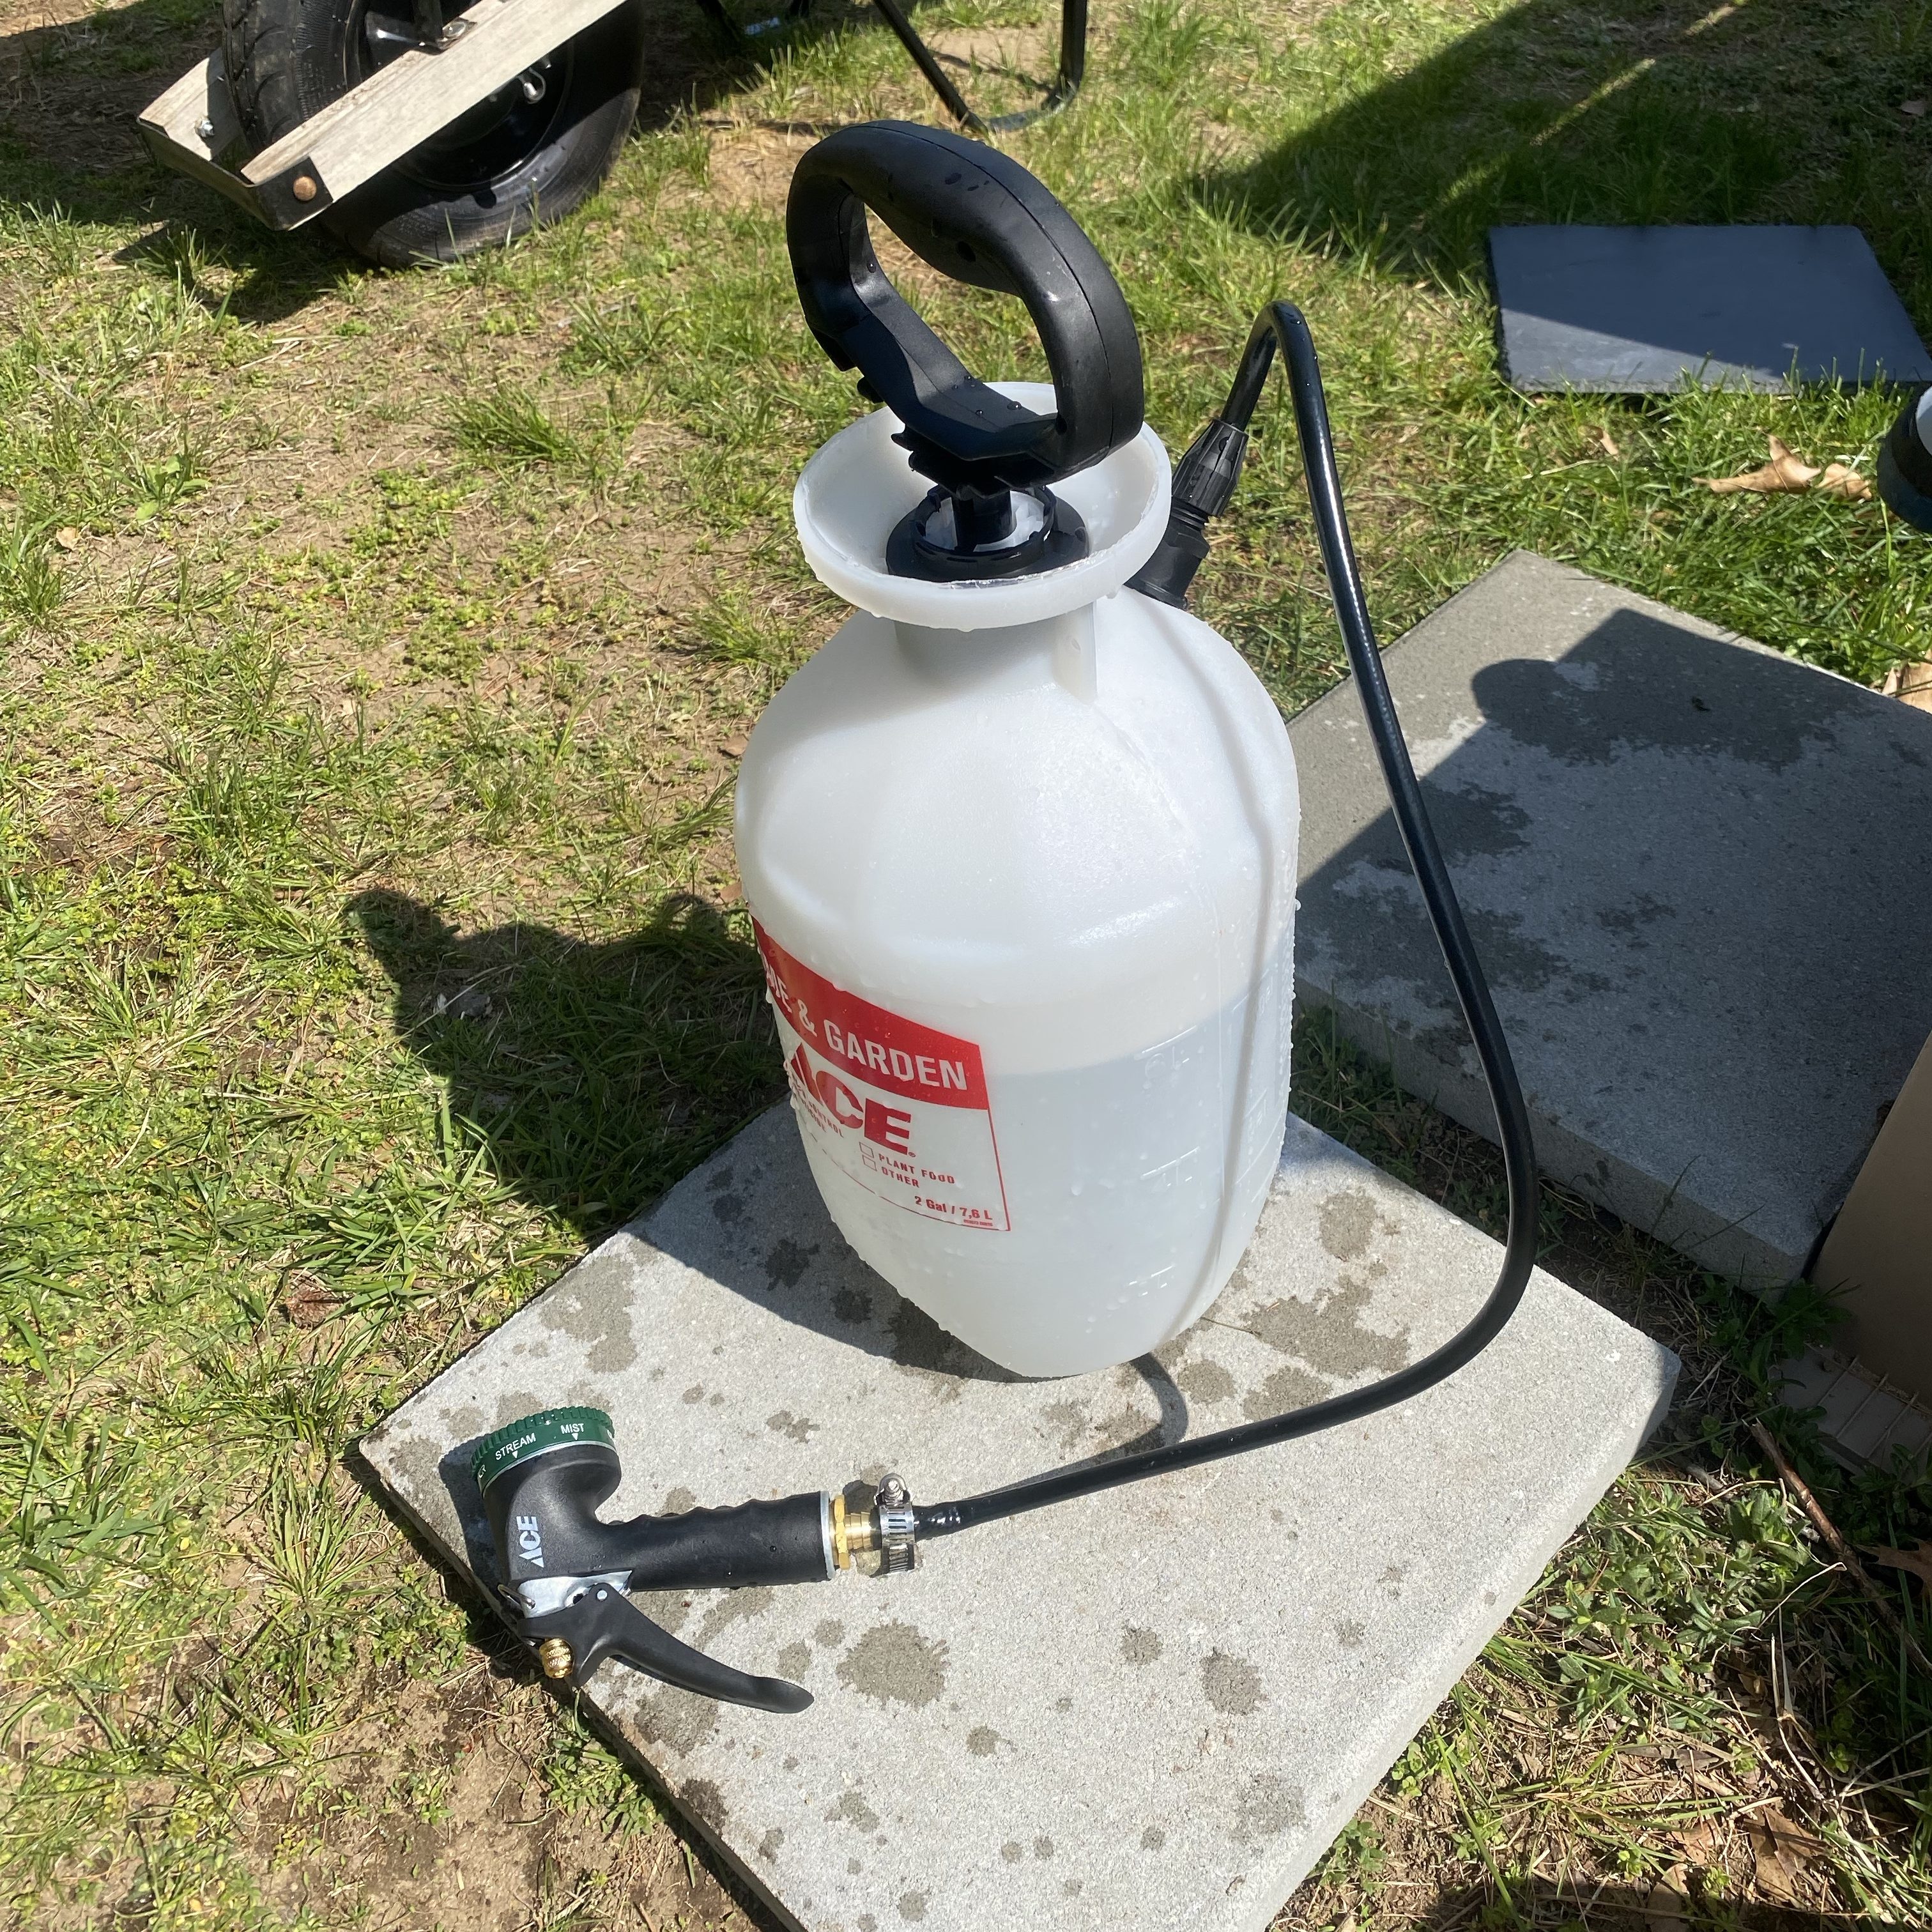
- 2 Gallon Sprayer – You can use smaller, but this gives you a decent amount of water, and we have a family of four to clean off.
- 1/2” Barbed Male Metal Hose Mender with Clasp – You can probably grab this for cheaper at your local hardware store.
- Liquid Soap – Dish, hand, whatever you’ve got around. You’re just using this as a lubricant.
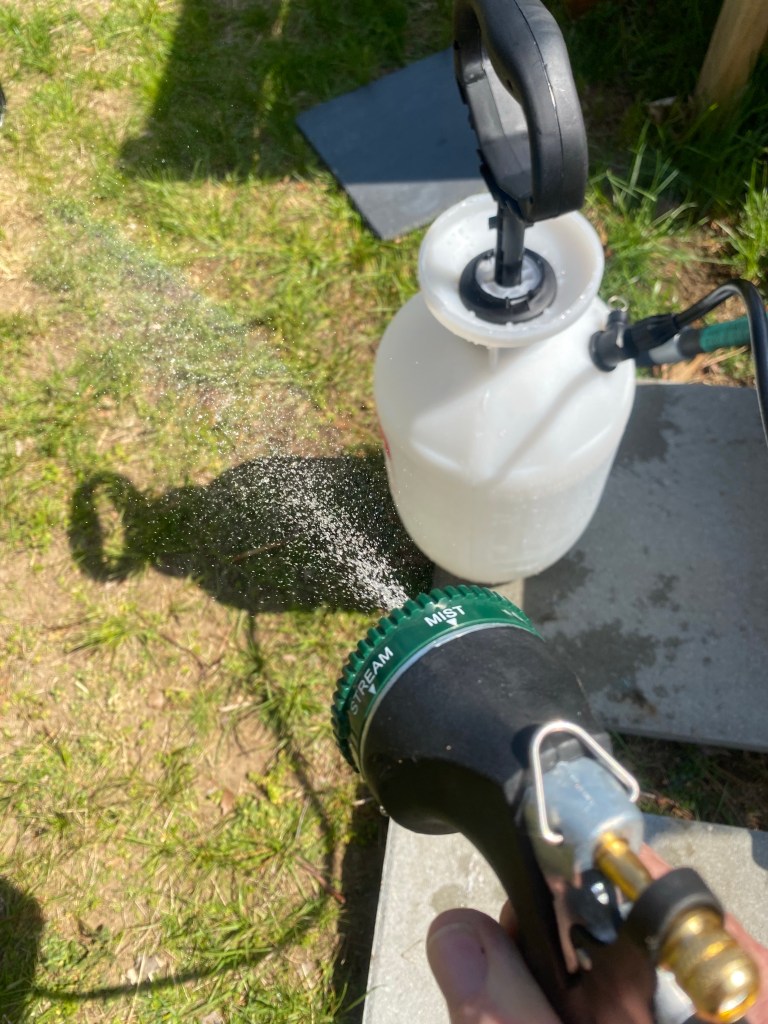
- Garden Hose Spray Nozzle – Get yourself one with a couple of different spray options.
- Scissors
- Heat Gun or Hair Dryer
- Needle Nose Pliers
- Flat Head Screwdriver
When doing any DIY project you can save yourself some time by getting all of your materials in place before you start. For this project the hose will be a lot easier to work with if you remove the hose and straw from the sprayer bottle before you get started.
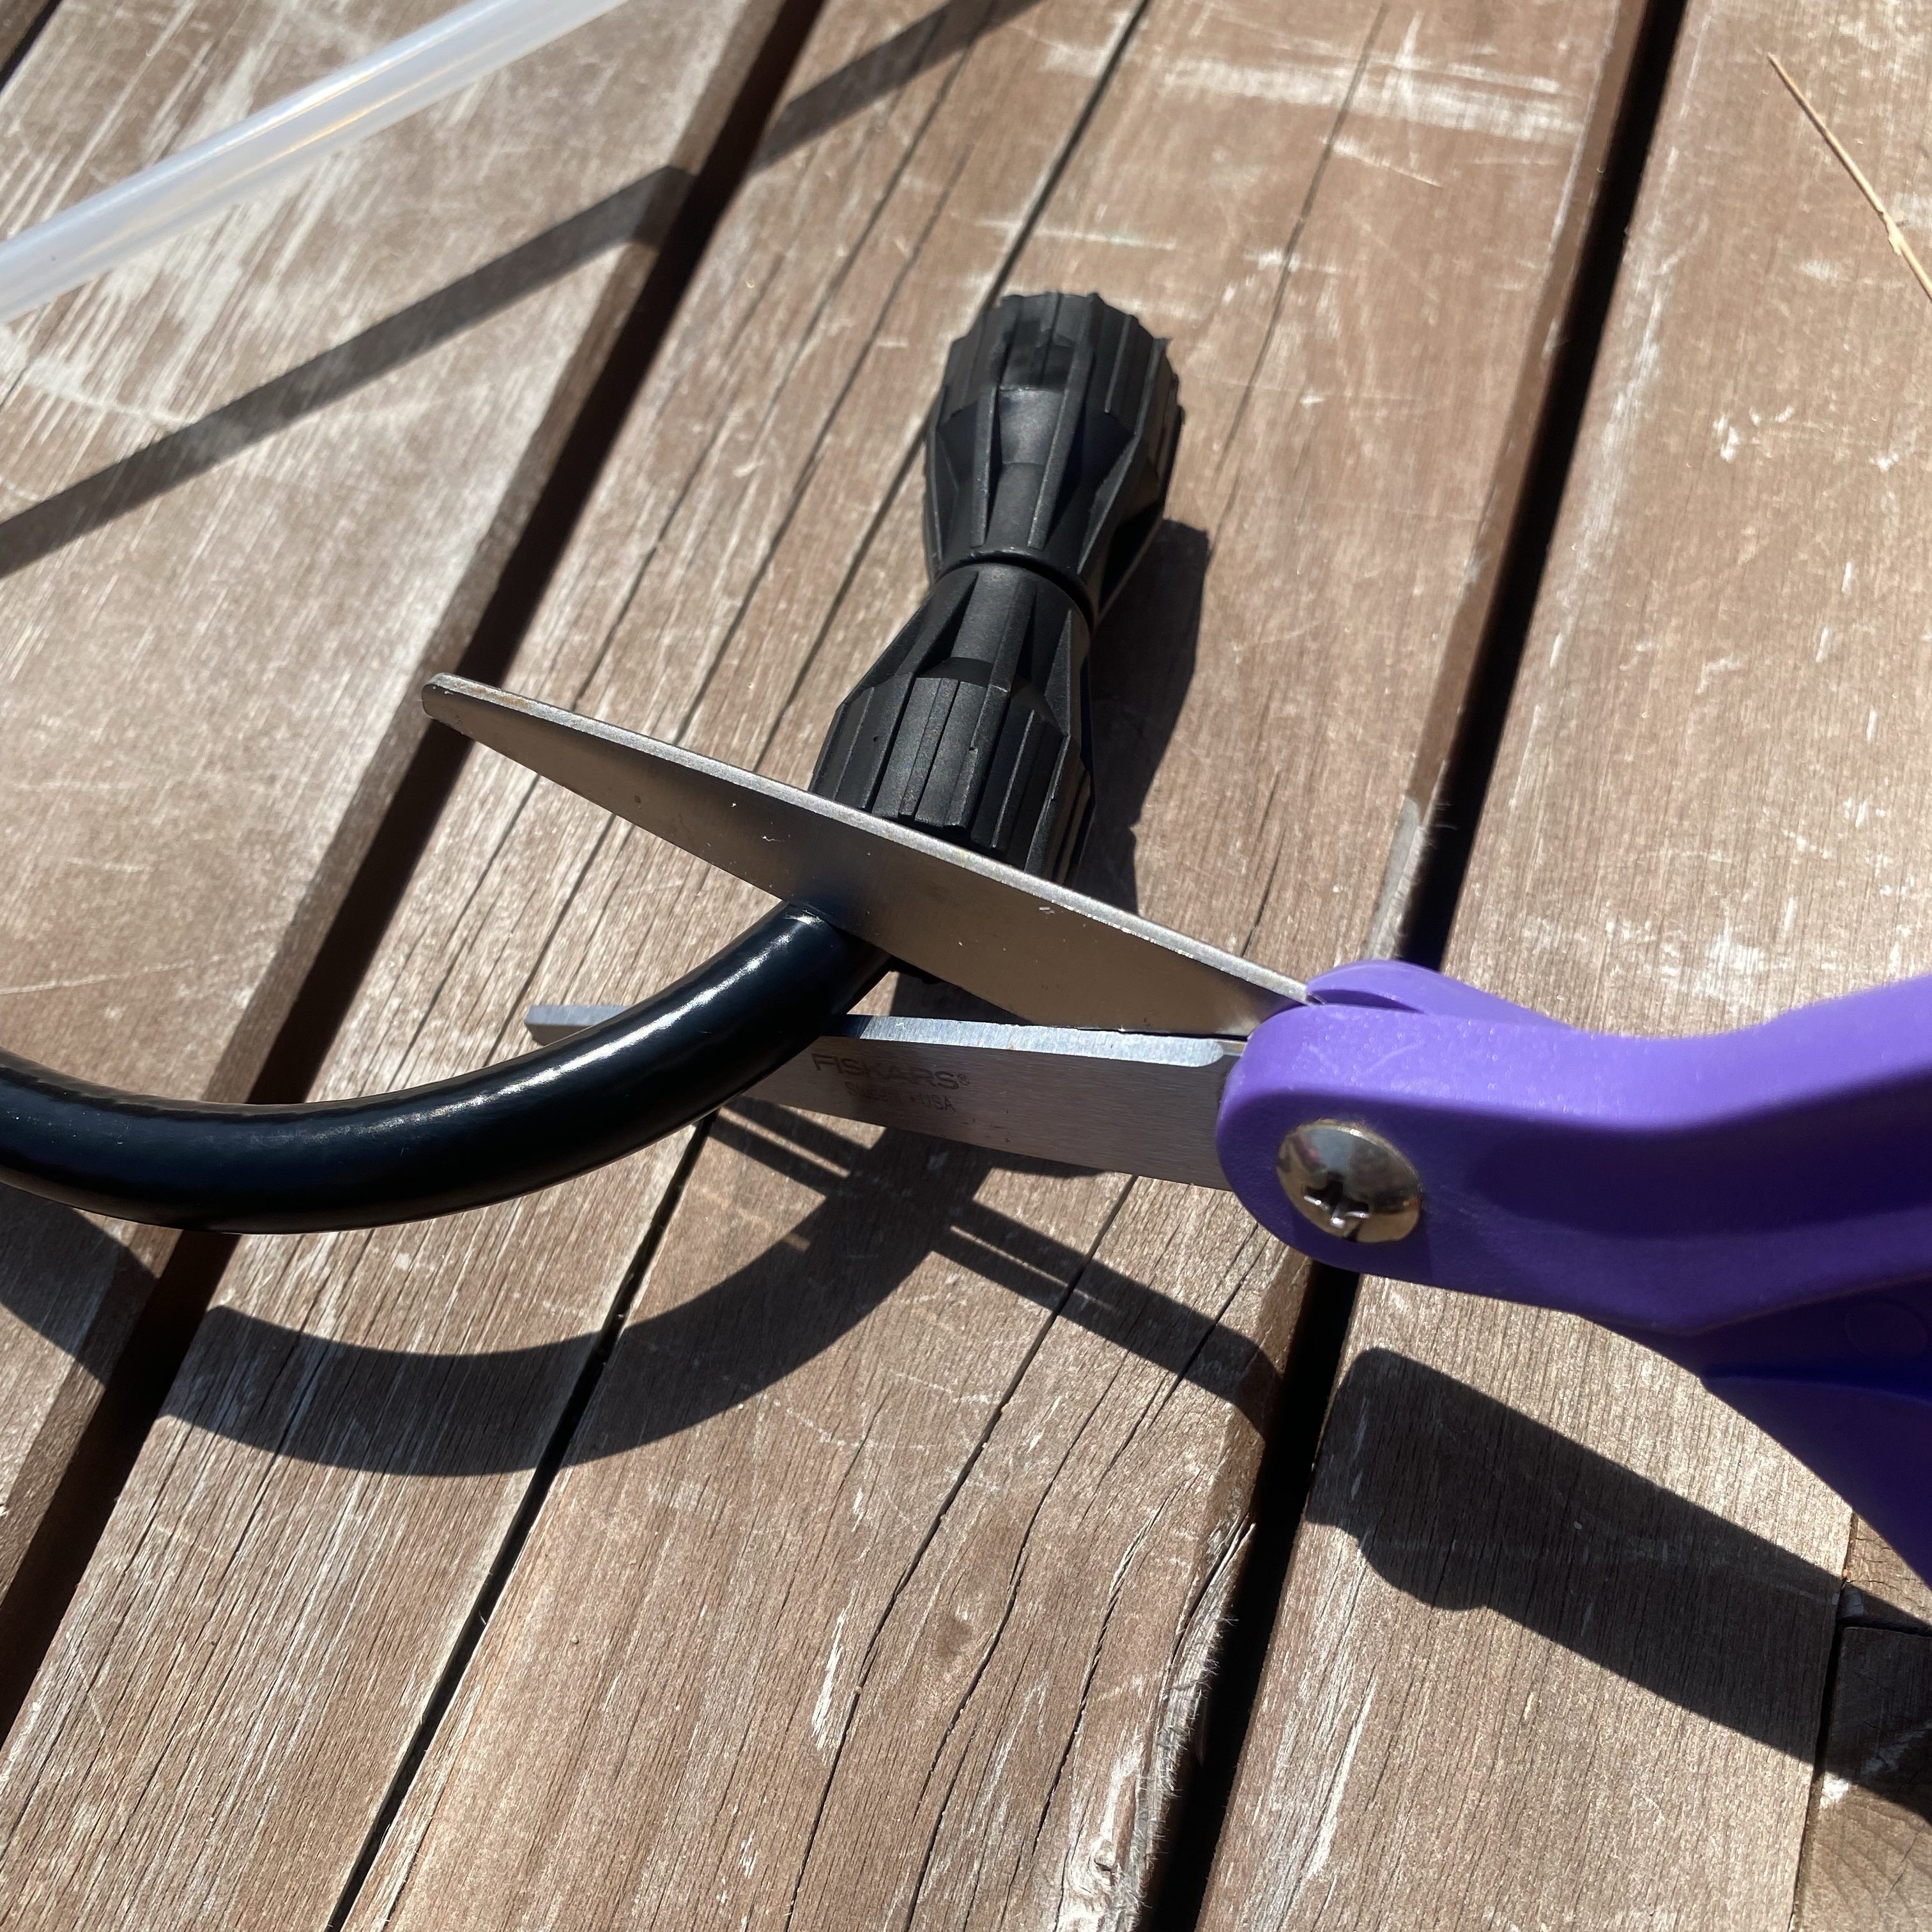
Trim the hose:
Grab your sprayer and your scissors and cut the sprayer wand off of the hose. Cut as close to the sprayer wand as you can to give yourself more mobility with your nozzle.
Insert the metal hose mender into the hose and secure:
Slip the clasp onto your hose before you start the stretching process. If you forget this step, that’s okay, you’ll still be able to put it on after, this just saves you the time of undoing it all the way and putting it back on. The hose mender is going to be a bit wider than the hose opening, so you will need to stretch it. This is where your needle nose pliers, heat gun/hair dryer, liquid soap, and screwdriver, come in to play. Close the pliers and slip them into the opening, use your heat gun/hair dryer to warm up the plastic hose and start opening the pliers.


Once you get it stretched a bit try to insert your hose mender into the hose. If it is still too tight, repeat the plier and heat gun/hair dryer step. You want to get the hose all the way on to the mender.
After you have the mender all the way on your hose, put the clasp around it and use your screwdriver to tighten the clasp as tightly as possible.

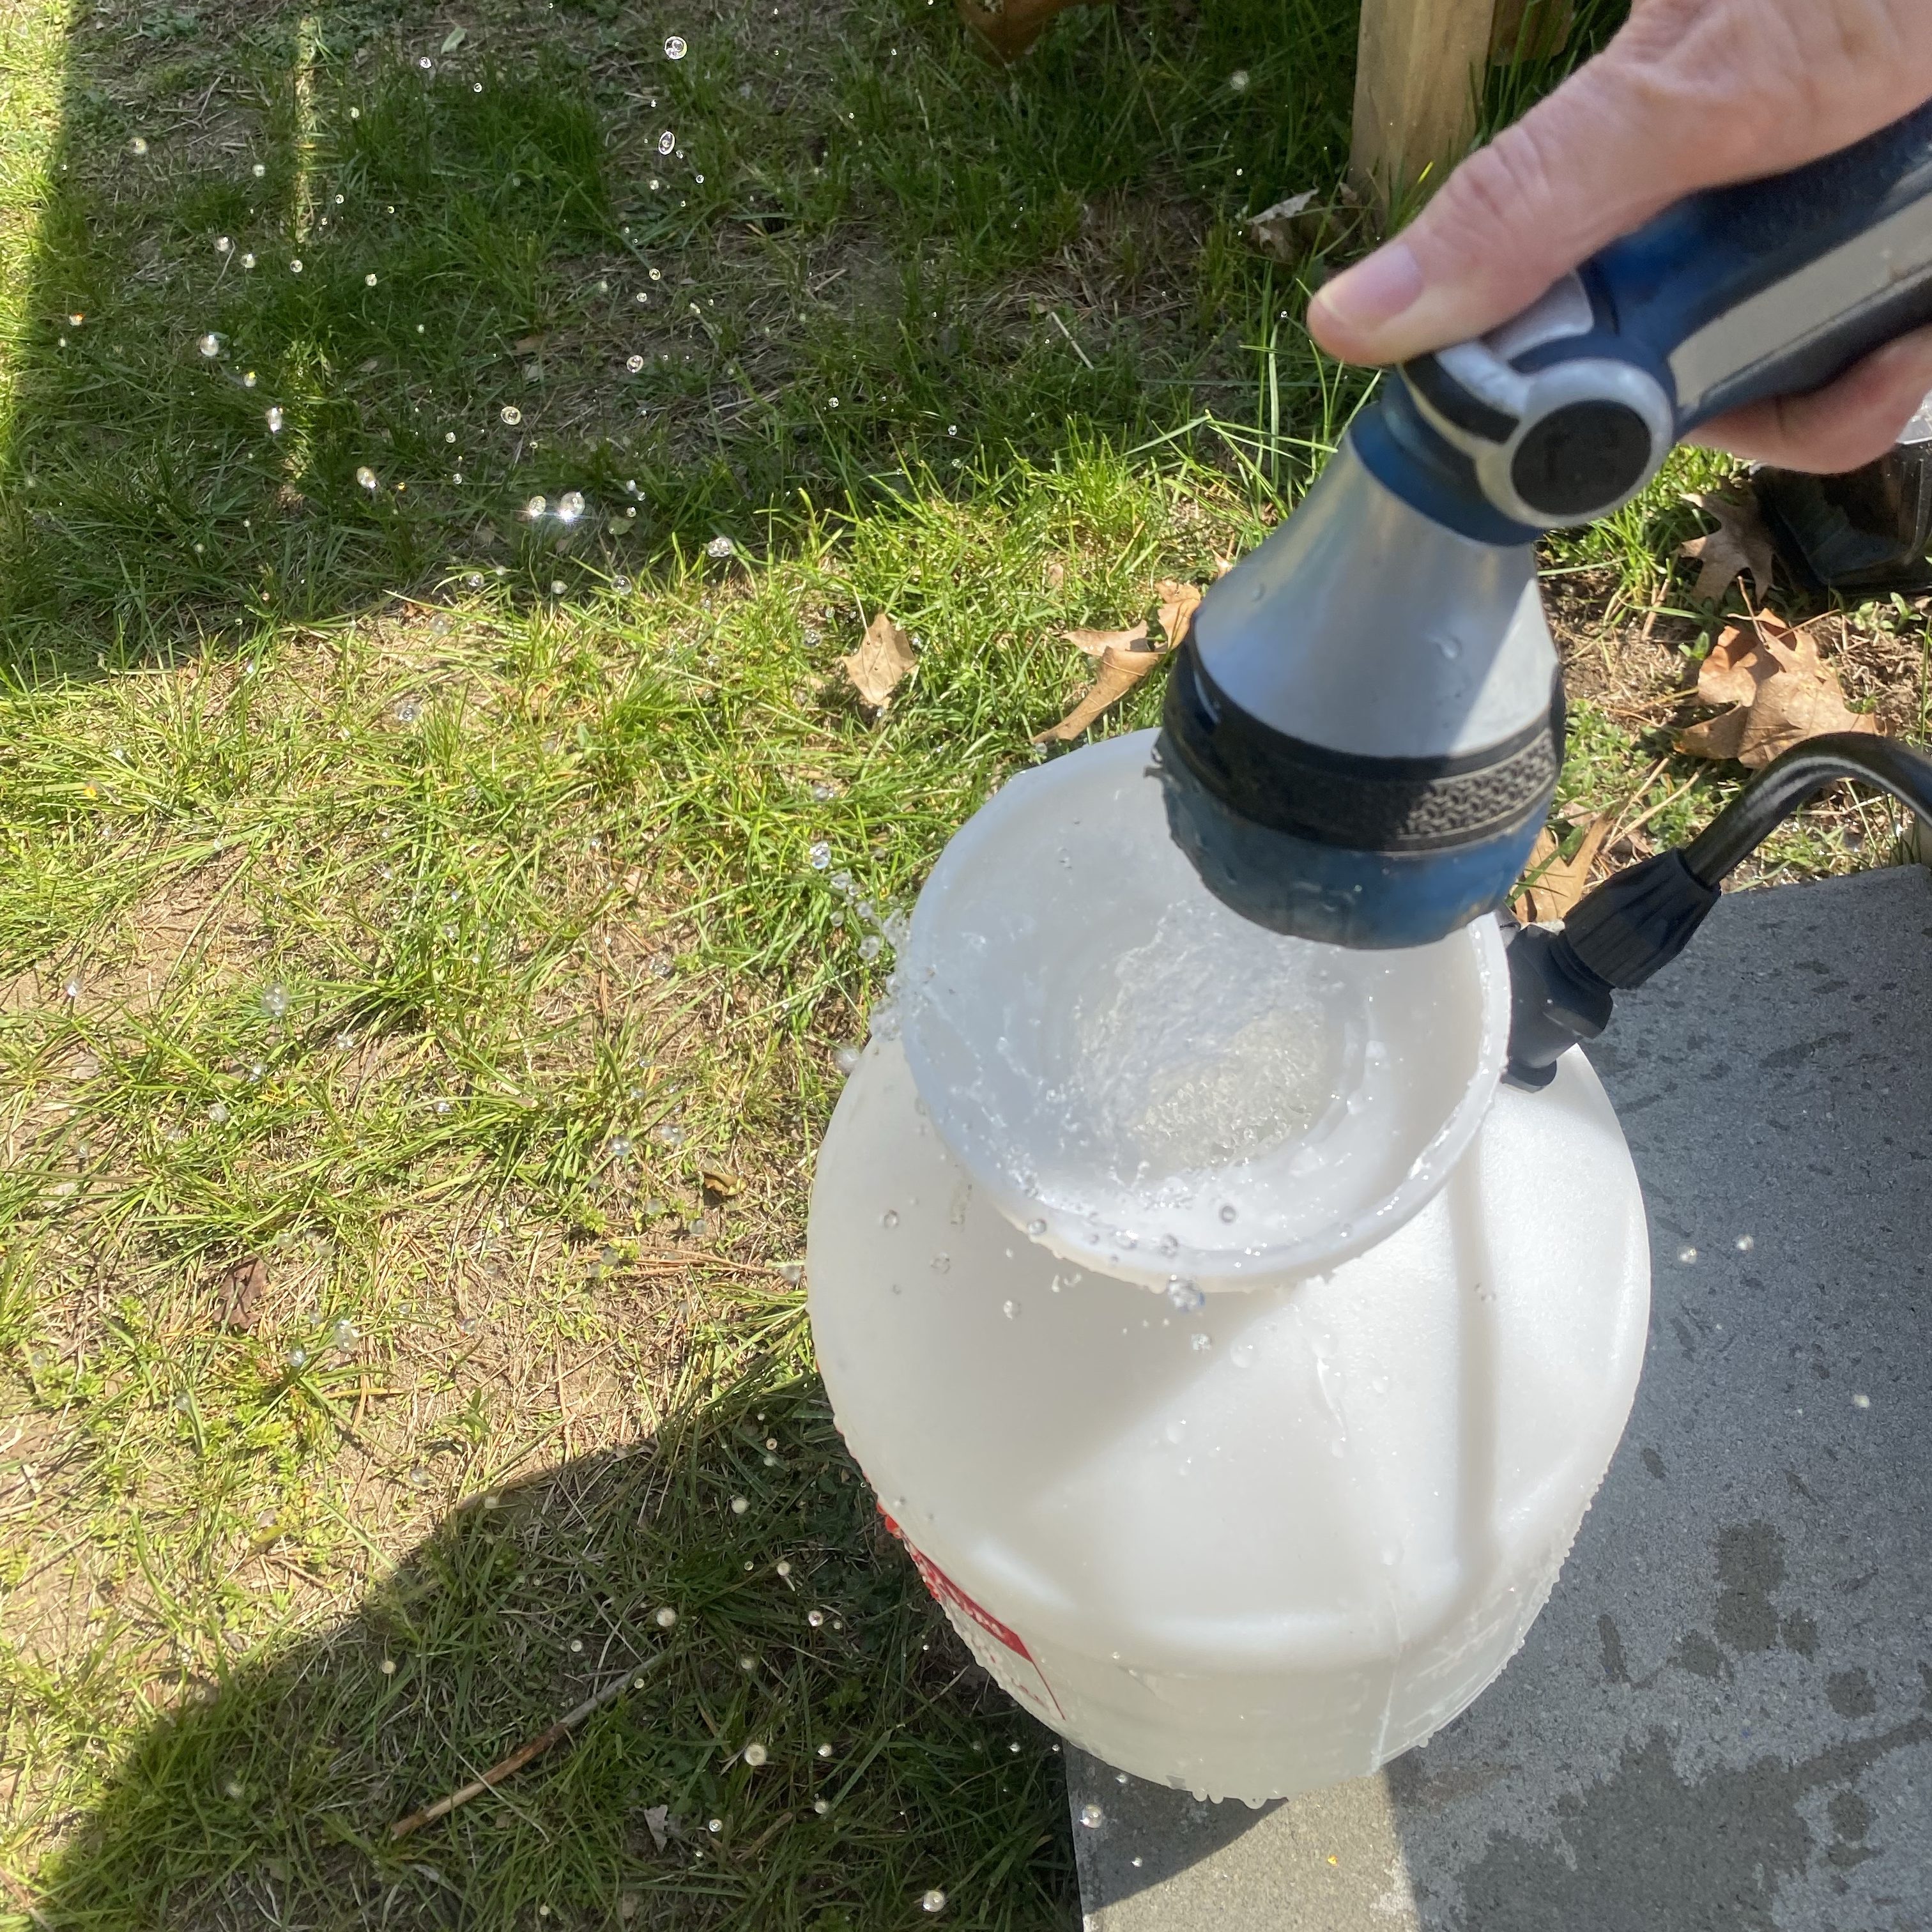
Then you just need to screw your sprayer on, insert the straw back into the bottle, screw the hose back on, fill ‘er up with water, screw the top back on, give it a few pumps, and you are ready to spray.