

When we first set out on our homesteading journey we didn’t have much experience with the homesteading lifestyle, but we definitely had homesteading dreams. Both of us grew up in homes with moms that cooked from scratch, and did a small amount of outdoor vegetable and flower gardening, but neither of us had much experience doing any of this on our own.
We go over some of our “why’s” in our other posts, but let’s go over some of the “how’s” now. Our biggest “how” advice is to take it one big change at time, but you can easily start by making those changes NOW.
There are some affiliate links and discount codes in this article. Clicking on these links does not cost you any extra money, but helps give us a small boost towards making our homestead dreams come to fruition. While we encourage shopping local we also realize that is not always possible. Please see our full affiliate disclosure here.
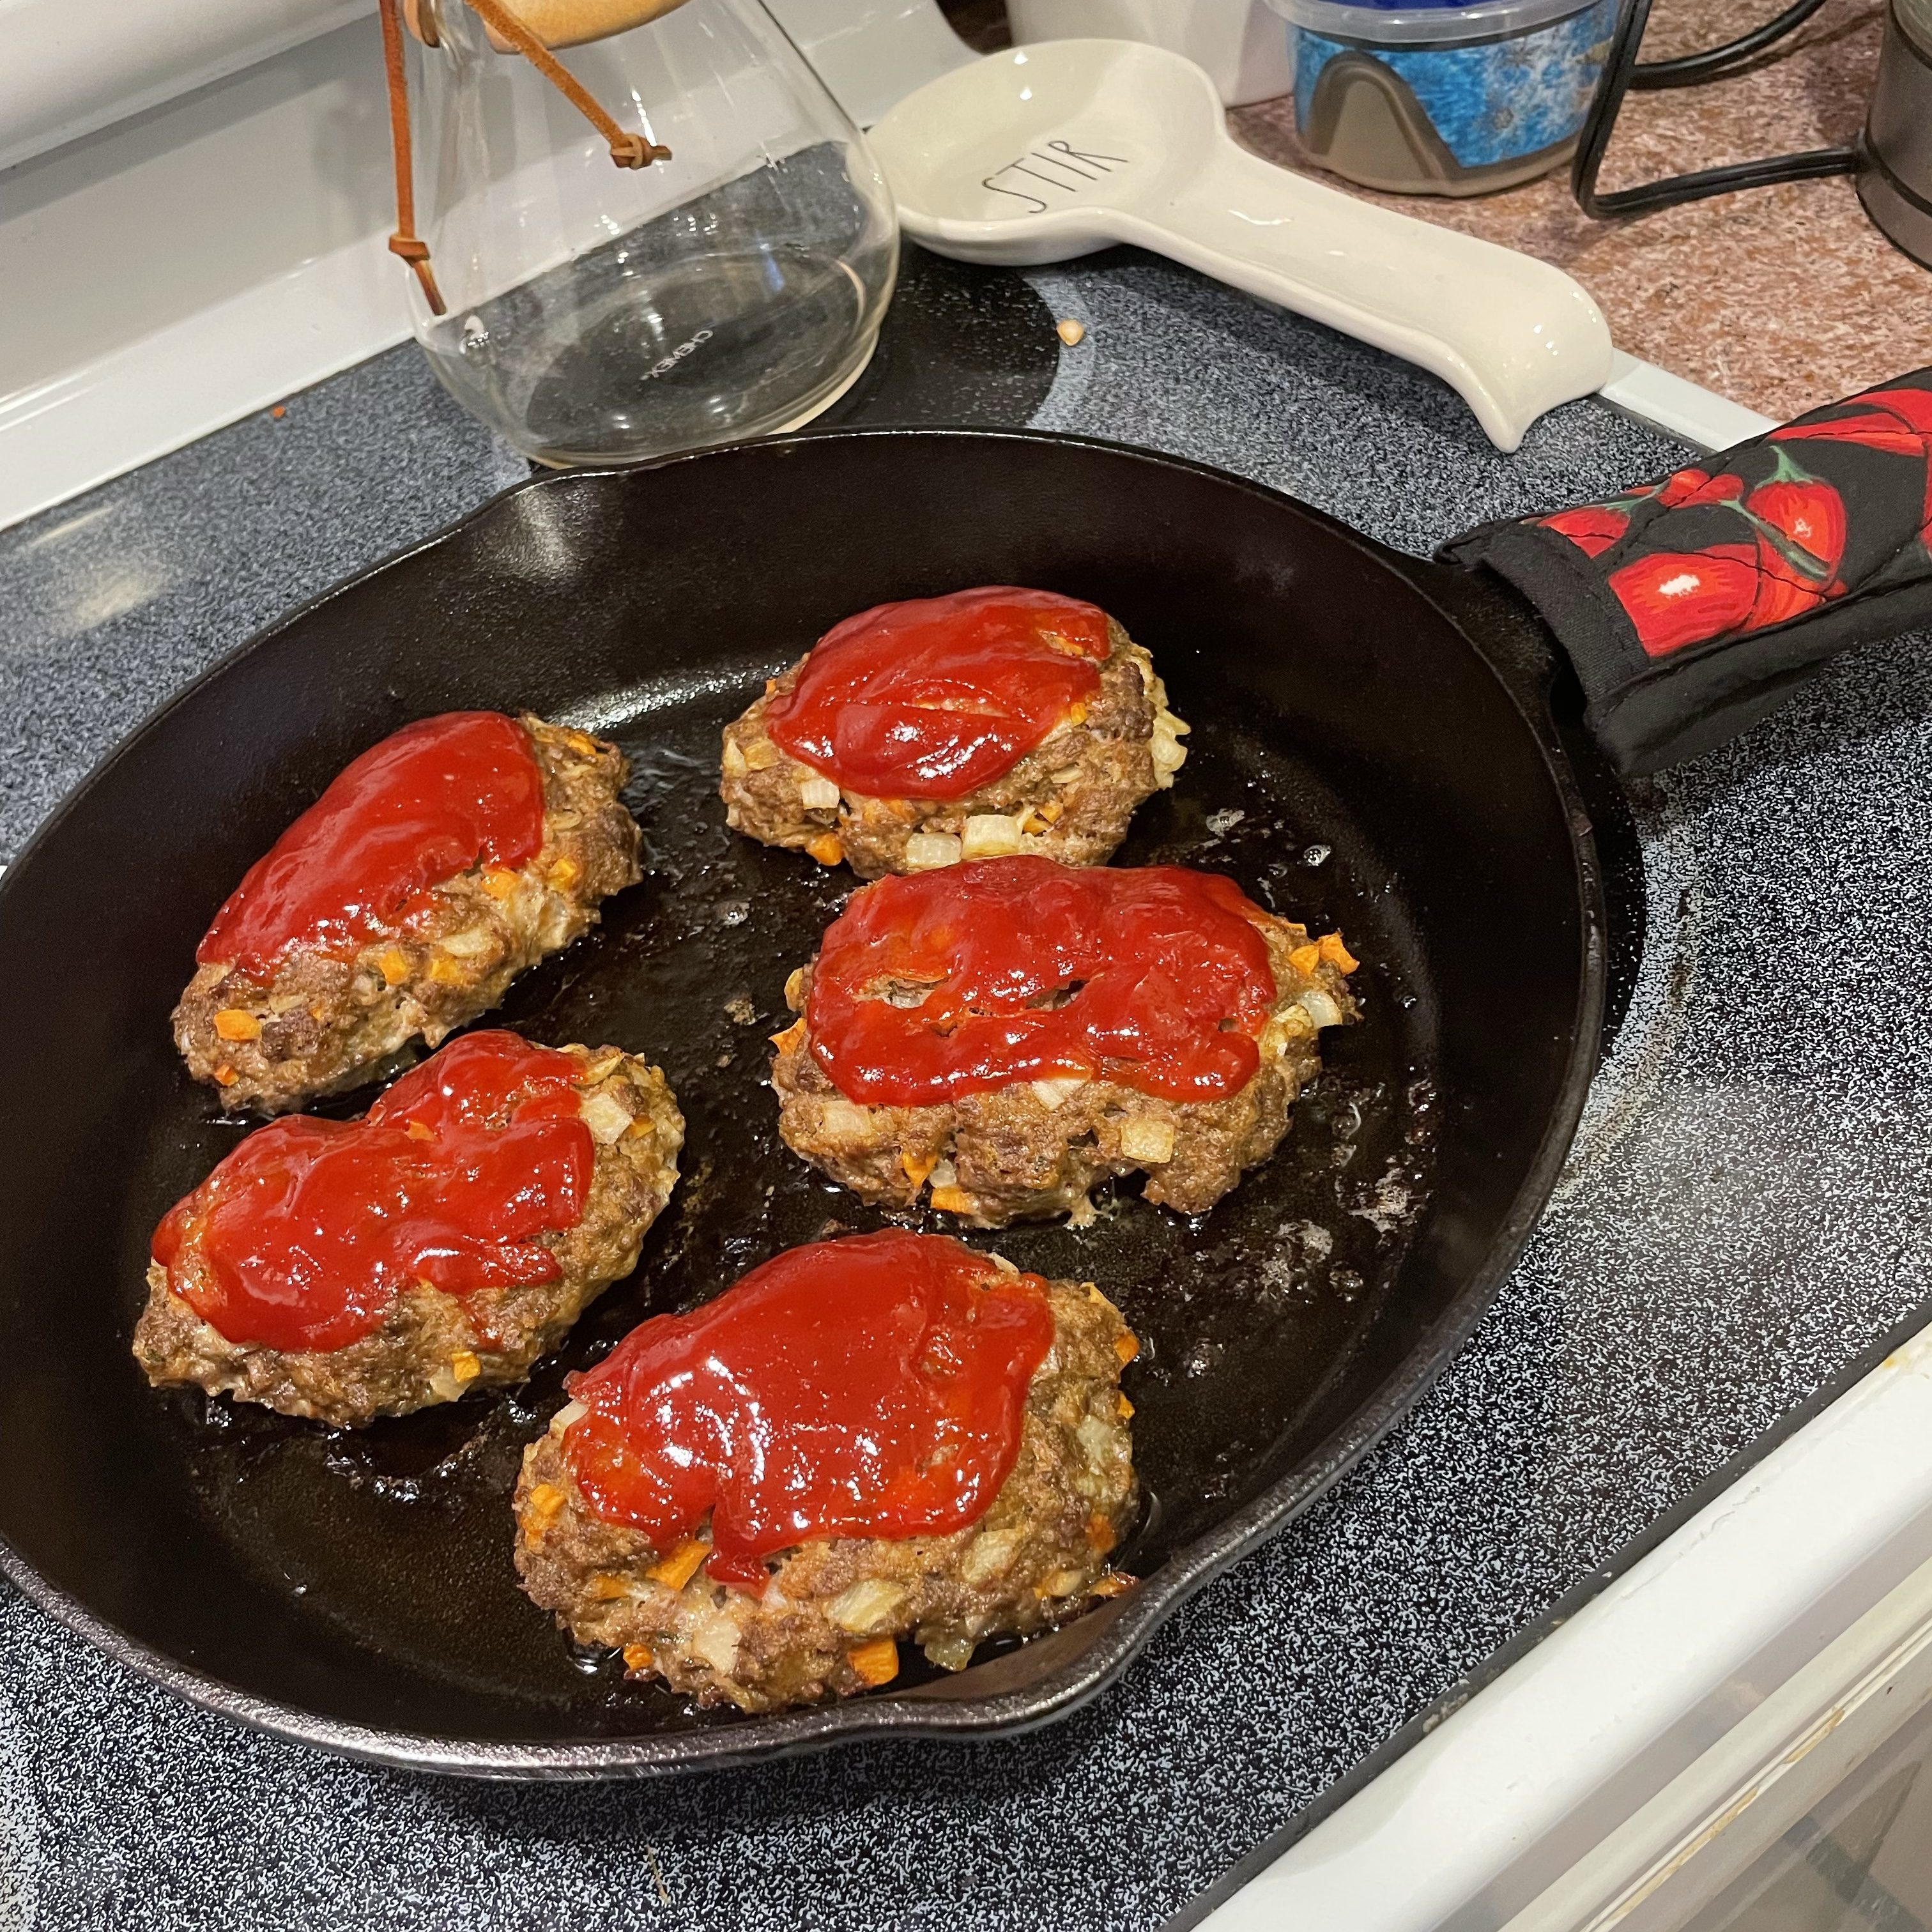
1. Learn How to Cook from Scratch
We continue to learn what we can make from scratch in our kitchen, the best way to start is to find a cookbook or blog that really appeals to you and begin with one or two meals, then branch out to one or two kitchen items, you will soon find that your scratch cooking adventure will snowball and take over your whole kitchen.
Shop on the outer edges and in the baking aisle at the grocery store. You can find the ingredients for just about everything you need in those places.

from Kate at Venison for Dinner
Keep in mind that some products that you will make from scratch will go bad a bit more quickly than their store-bought counterparts. A great example of this is mayonnaise. Store bought can last in your refrigerator for months, where your homemade batch needs to be used within the week. While that seems like it could be wasteful, if you are cooking more at home you will use more of your homemade ingredients, so menu planning will become important.
Another way to look at it, is that if you are cooking from scratch your food is going to be more wholesome and include less “bad/unpronounceable” ingredients, so you will benefit from it health wise and save money on the back end with your healthcare.
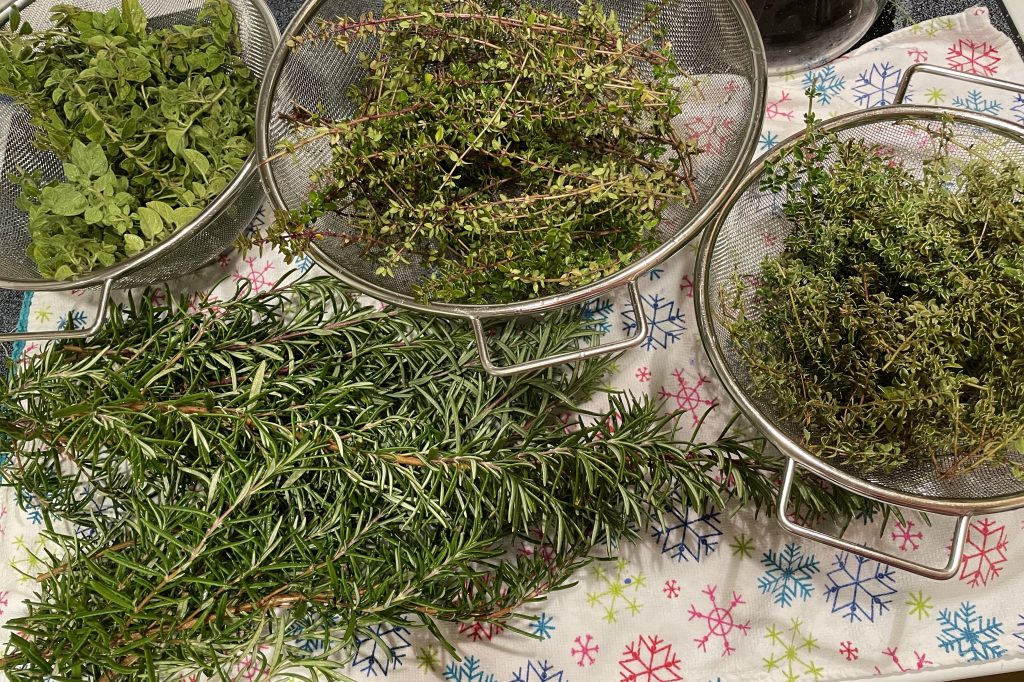
2. Grow something
Start learning about plants, the best way to do this is by experience (trial and error).
The easiest plants to start with are herbs and houseplants. Make sure you choose to grow herbs that you will actually use.
Grow cherry tomatoes in a pot on your patio (if you’ll eat them). If you don’t care for tomatoes, find some container friendly veggies that you will eat. Green beans (pole or bush) are a great start too.
Many seeds will say right on the packet if they are good for container growing.
If you’ve never grown anything before these are great places to start. If you have some gardening experience, add in a few more varieties, but small is the best way to start. It is easier to manage pests and troubleshoot any problems that you have when working on a smaller scale. In reality the most important thing for you to do, is to do SOMETHING!
3. Reduce your waste
The biggest reason to reduce your waste in your homesteading journey is because homesteading is about self-sustainability and reducing your waste means that you will be less reliant on the outside world.
Start by thinking about the items that you are the most annoyed about spending money on, things that you throw away after you use them one time. For us- the first things to go were paper napkins and paper towels.
You can switch to just rags from old clothes, or you can invest in some packs of cloth napkins and towels. A great place to start to up your napkin and towel stash is somewhere like Homegoods or TJ Maxx. You can also try your luck at thrift stores.
A question always seems to come up about how much laundry we must do. The most accurate answer is that it comes down to an extra load every five days. Folding cloth napkins and kitchen towels were some of the first chores our little ones did, and now at 4 and 6 they can fold and put away their clothes laundry. Our four year old miiiiight need a little more help, but she sure tries!
We keep a separate bag in our kitchen for all of our dirty napkins and towels. Its nothing fancy, just a reusable shopping bag (it stands up on its own even with just one or two napkins/towels in it and has handles for us to easily bring it down to our basement laundry.
We have also eliminated plastic Ziplock’s (except for the occasional purchase of freezer bags – which we use multiple times), saran wrap, sponges, and plastic straws.
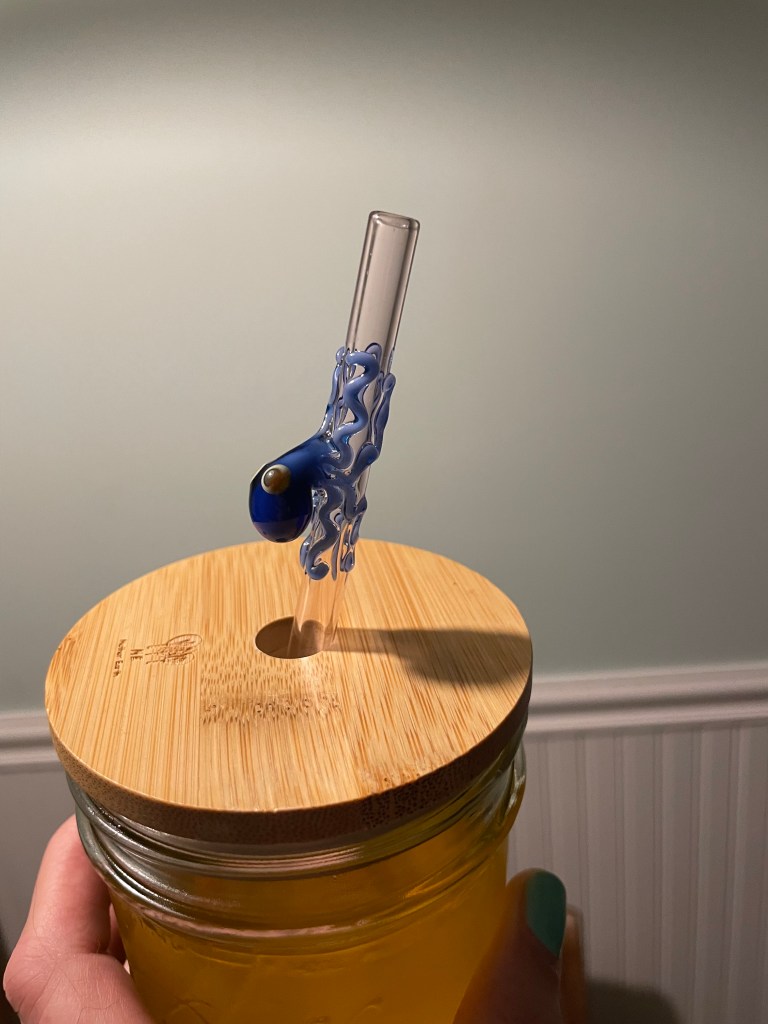

I have a pattern for a great washable sponge replacement here, and our absolute favorite straw replacements have been from Surfside Sips (use our affiliate code PURPLEPINEAPPLE at checkout for 20% off of your order-you get a discount, and we get a kick back). They are beautifully handmade glass straws, you can get plain and simple or choose from one of his fun designs.
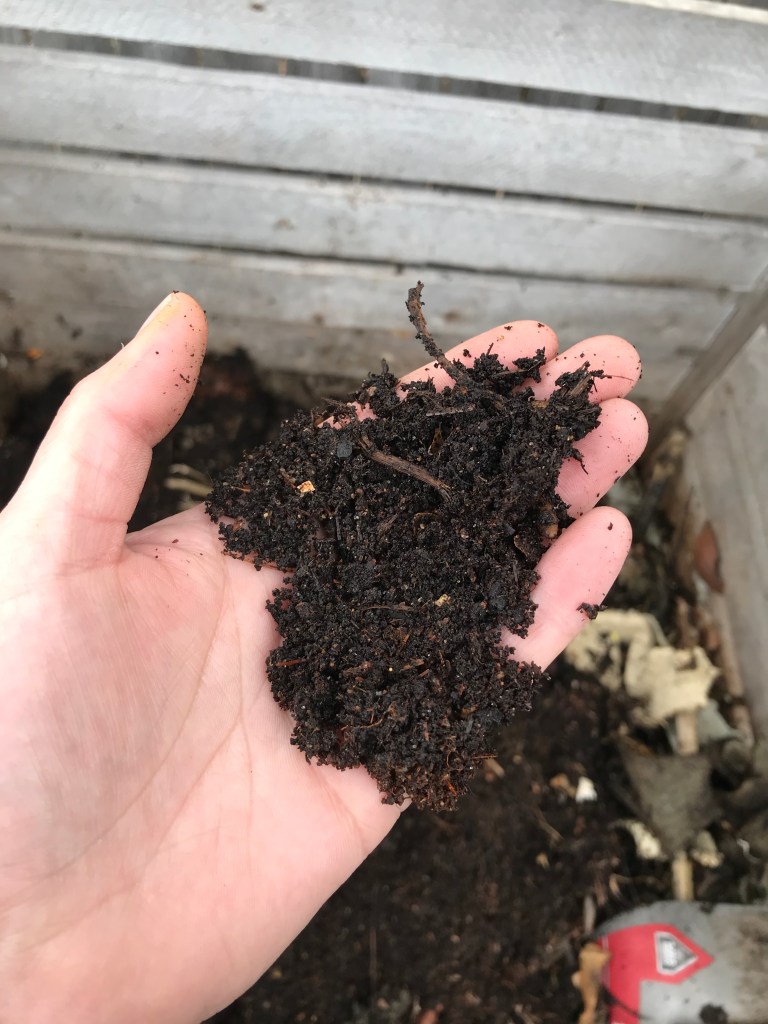
4. Composting
This is sort of partnered with number three, as it definitely reduces the amount of waste that you send to the landfill or to the recycle. We will post more in depth blog about composting, but this is another one where you just need to get started. It will save you money on your garden and it is great for the environment. You can start with an indoor worm bin, an outdoor enclosed tumbler, an outdoor stall, or even just an outdoor pile.
Composting is one of those steps that seems like it will be complicated, but it’s really easy, again, just get started. Save your vegetable and fruit kitchen scraps while you prep meals and then bring them out to your pile or feed your worm bin.
We have two of these bins (original and an add-on kit), and it makes it easier to turn our pile, but you can get by with just one. I particularly like this design because they are made of cedar and you can continue to purchase “add-on” kits and have as many bins as you like.

5. Learn to Preserve
Learn how to make your (or someone else’s) harvest last longer. Freezing, canning, and fermenting are the three ways of preserving that we usually think about first. The Ball Complete Book of Home Preserving has been by my side for the last two years. The methods in it are all tested and approved.

When canning you do need to follow a tested recipe (especially in the beginning, because of food safety proceeds and the possibility of botulism in canning). When you delve deeper and are more experienced there are some loser practices to follow, but in the beginning, stick to tested recipes. Water bath canners are very affordable, but you can also get away with a large pot and something to keep the jars off the bottom.
You don’t just have to preserve your own harvest. Buy in-season vegetables and fruits, or visit you-pick farms, to get them at a lower cost and preserve them yourself to have homemade simple foods all year long. We go pick strawberries at a local farm and then come home and process all afternoon.


Some quick and easy ideas to start learning and preserving right away:
- Make some veggie stock from your kitchen scraps and stick some in your freezer
- Fermenting hot sauce or sauerkraut
- Blanching and freezing green beans
- Canning strawberry jam, applesauce, or salsa (all of these recipes from the Ball Complete Book of Home Preserving are easy to follow and great first canning projects). Start with foods that can be canned using a water bath canner vs pressure canning (as you would need to invest in a pressure canner).
These five things can really kick off your path to self-sufficiency on your homesteading journey. If you can’t do all five, maybe just start with one or two, just start, start now, you’ll be happy you did.

Great post!! I look forward to your photos and tips each day💕
LikeLiked by 1 person
Thank you for following along on our journey! We hope to be an ongoing inspiration! 🙂
LikeLike
Wonderfully written, especially composting. Thank you 🙏🌍
LikeLiked by 1 person
Thank you so much for visiting!
LikeLiked by 1 person
You are welcome, Marissa 🙏
LikeLike